You don’t have to be a bread expert to pull off this sandwich bread recipe. With simple ingredients and some time, this loaf warms your kitchen and rewards you with the small victory of making your own bread.
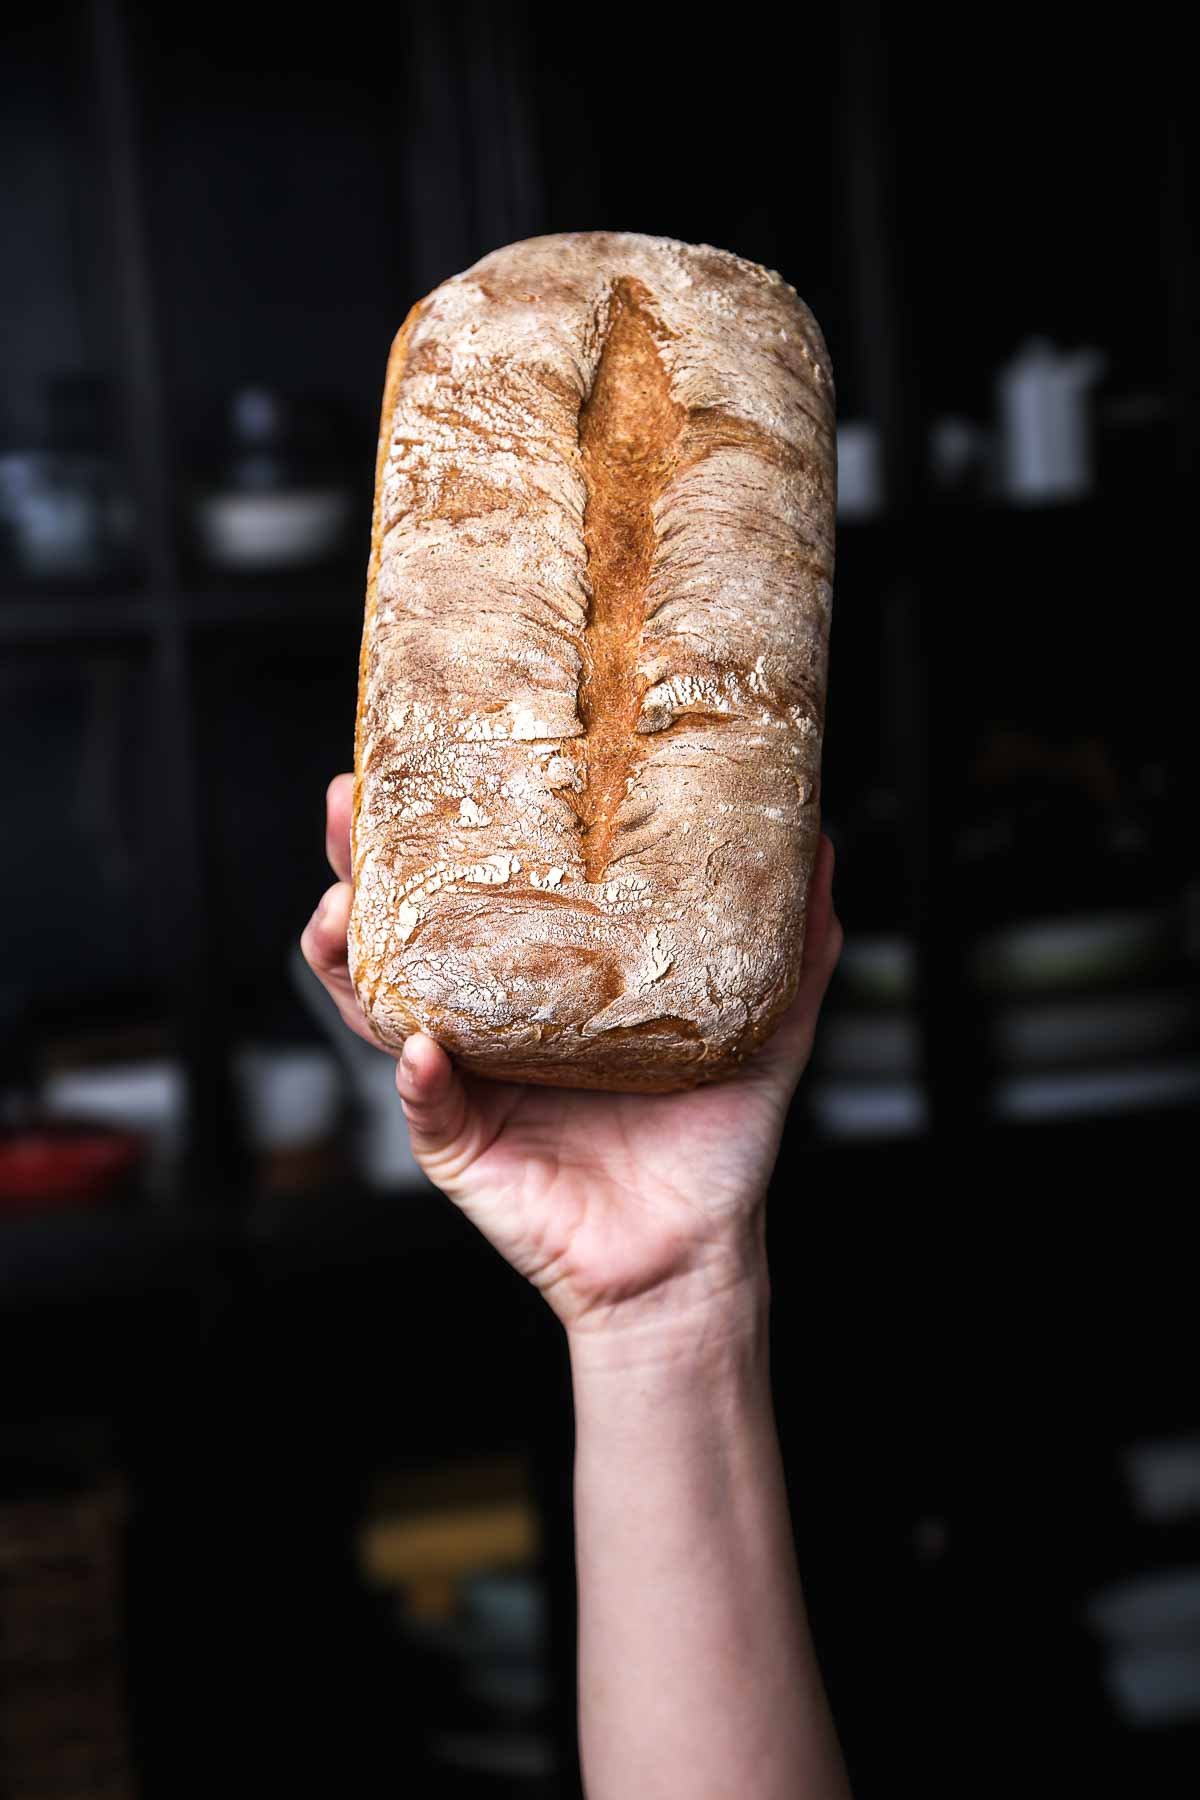
There’s something uniquely calming about bread making. It slows everything down in a way that just feels good, and this sandwich bread recipe fits right into that rhythm. Mix, knead, rest, shape, rise. Nothing complicated. It’s intentionally simple, built on a few easy-to-find ingredients, with no special equipment needed. The payoff? A delicious, soft, and sturdy loaf that tastes like something made with your own two hands—because it is.
If you’ve never made your own sandwich bread before, this is a really easy place to start. The steps are simple, and most of the work is just waiting while the yeast and dough do their thing. Our step-by-step guide shows you exactly what each stage should look like, and what to look out for as you go. By the time this loaf comes out of the oven, you’ll understand why making your own bread feels so good.
Why You’ll Love This Sandwich Bread Recipe
This loaf checks all the boxes: soft, hearty, great for slicing, and surprisingly easy to pull off. If you’re new to homemade bread, this sandwich bread recipe is the perfect place to start. Here’s why you’ll love it:
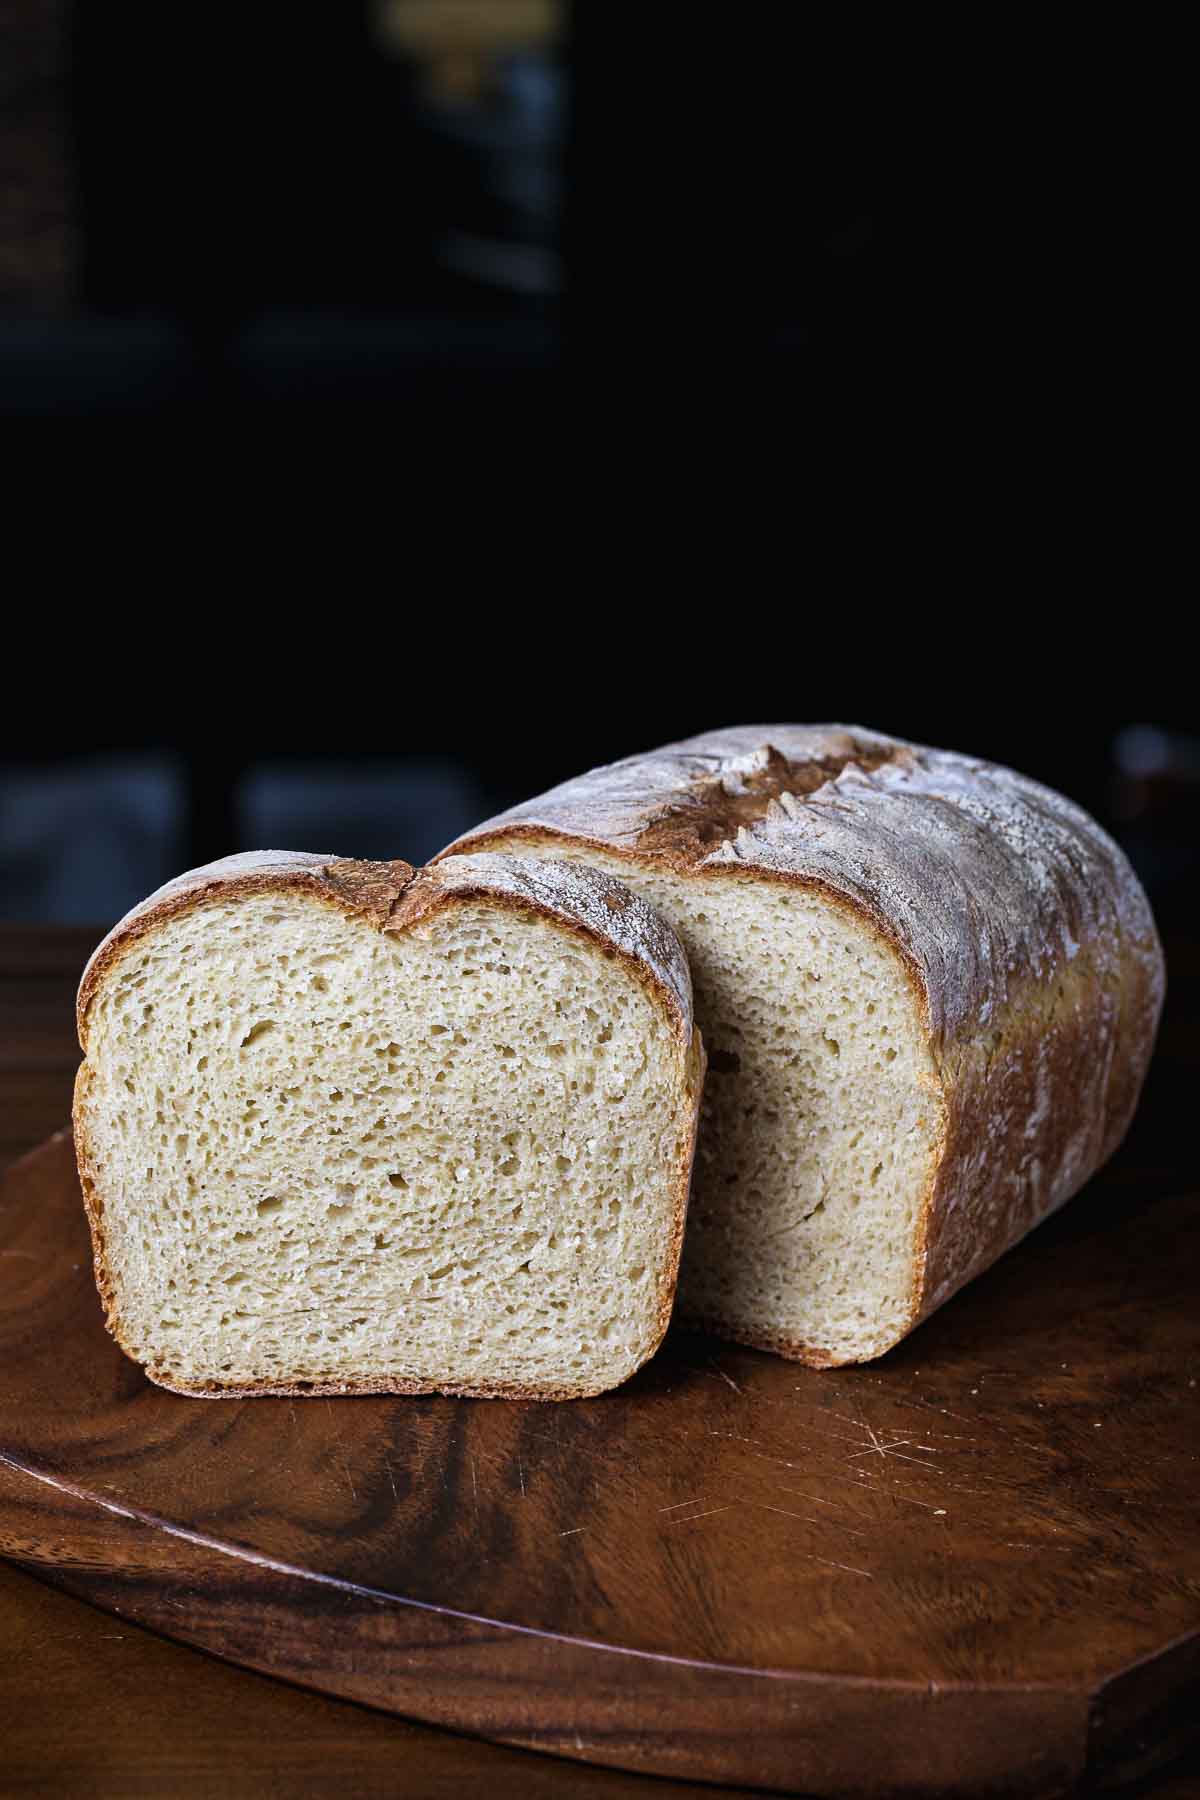
- Soft, sturdy texture. Holds its shape for sandwiches, slices cleanly, and toasts beautifully. Thick-cut avocado toast or French toast? Perfect.
- Simple ingredients. Bread flour, active dry yeast, silken tofu (more on that later), plus a few pantry staples create an easy sandwich bread you’ll love.
- No special equipment. Skip the stand mixer. If you have a bowl, a spatula, a small blender, and a loaf pan, you’re golden.
- Easy to follow. The step-by-step photos walk you through each stage so the whole process feels doable—even relaxing.
- Freezer-friendly. This bread has no preservatives, so slice and freeze it for later to keep it fresh. It thaws quickly and tastes amazing with a little boost from your toaster or hot pan.
Key Ingredients
The ingredients for this sandwich bread recipe are minimal, but each one makes an impact. Here’w what you’ll need:
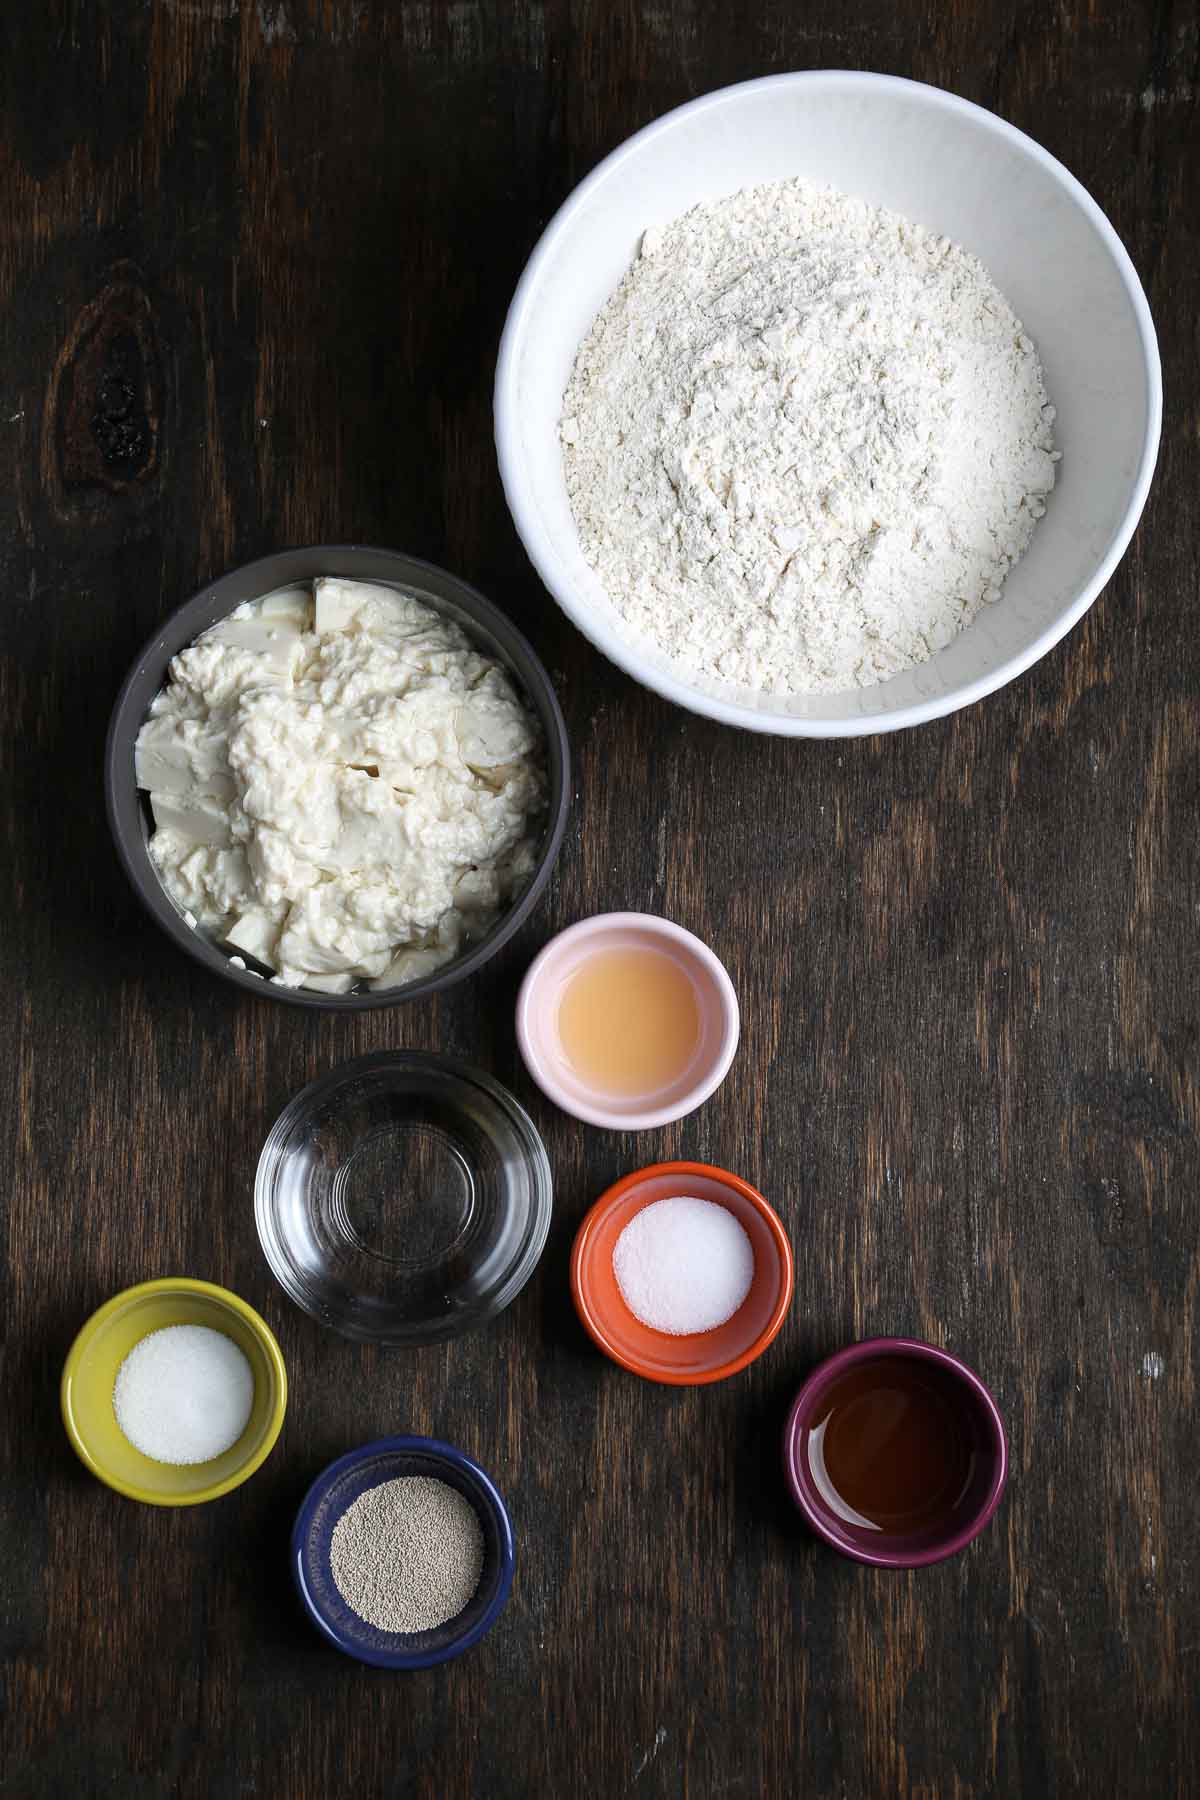
- Bread Flour: This type of flour brings higher protein, which means more gluten strength and better structure. In practice, that gives you a loaf that rises taller, slices cleaner, and doesn’t cave under tomatoes, spreads, or toasting. It’s the simplest way to guarantee a soft sandwich bread with a sturdy feel.
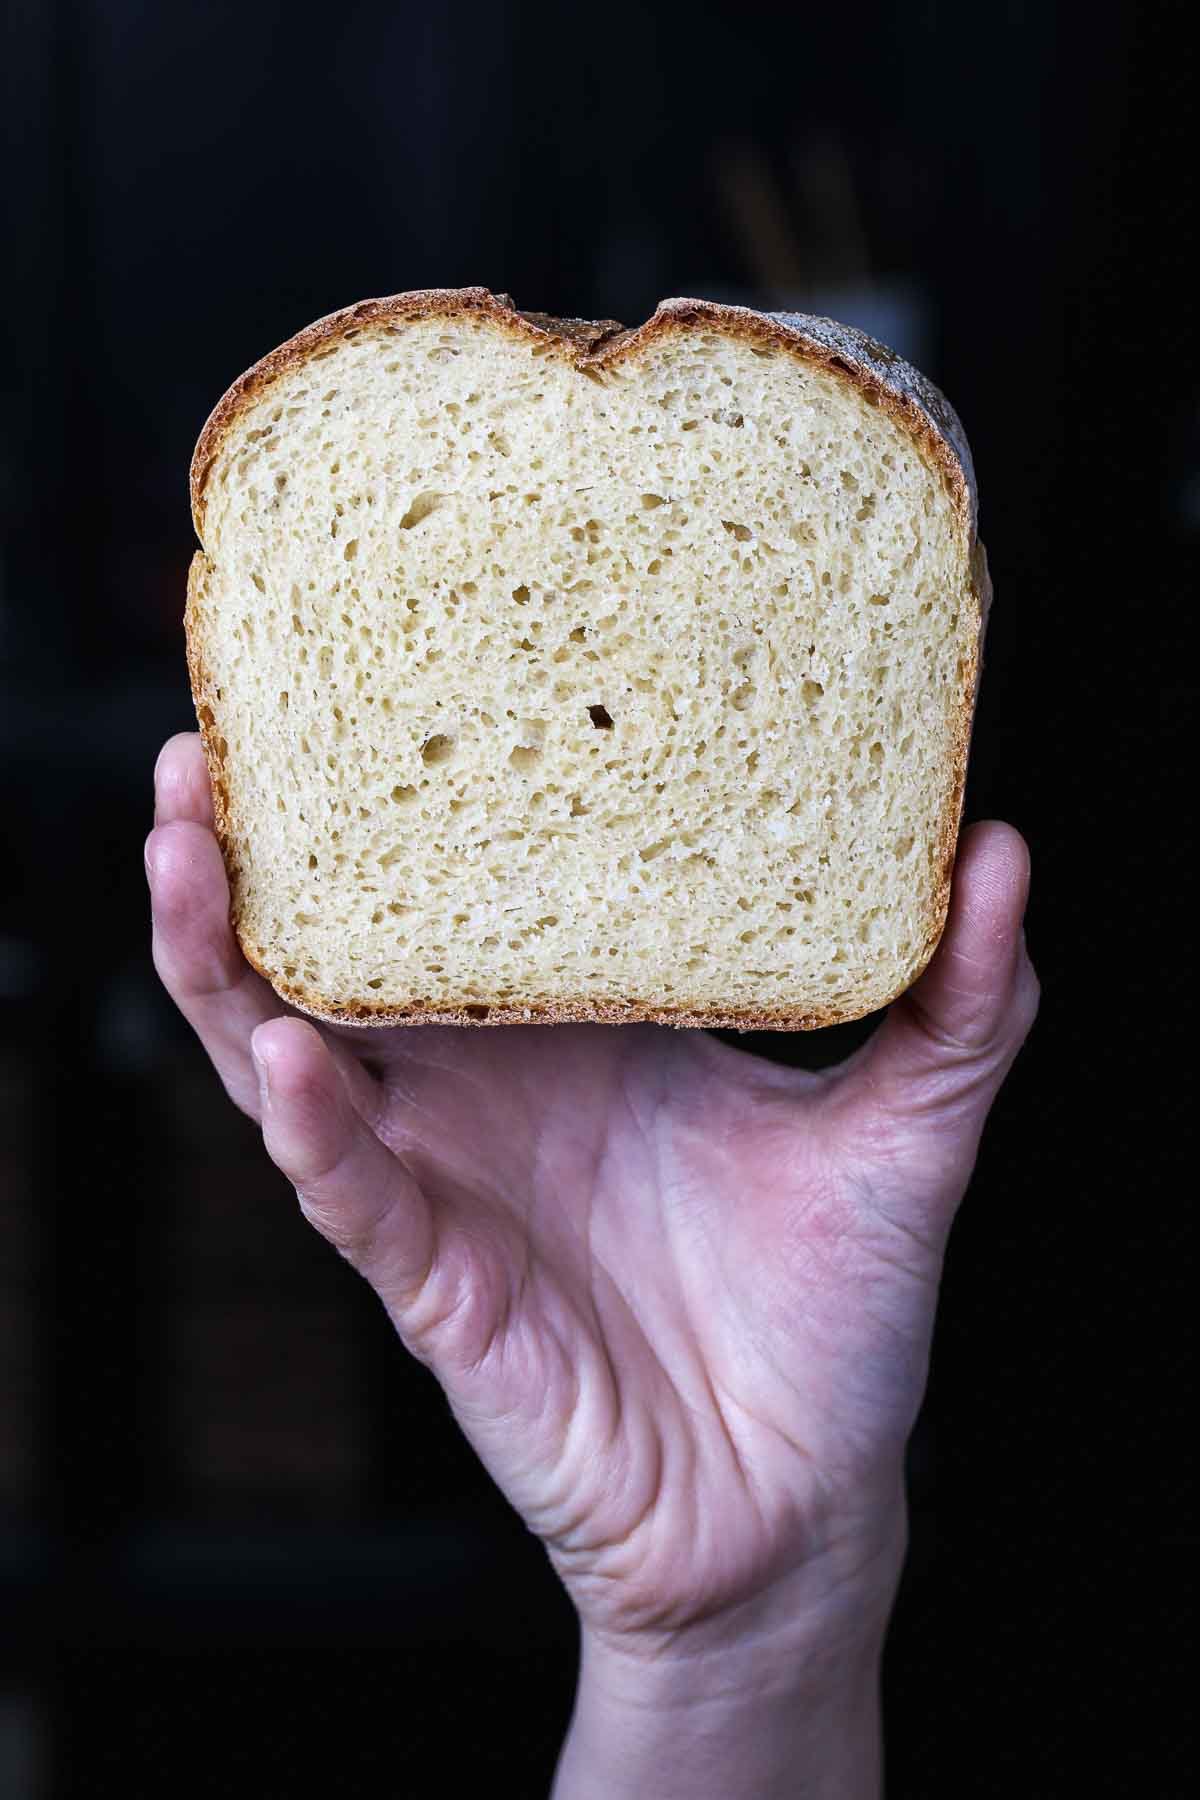
- Silken Tofu: This is the unexpected twist that makes this recipe special. Traditional enriched breads rely on milk, eggs, or butter for softness and moisture. Silken tofu gives you the same advantages—tender crumb, subtle richness, better structure—without adding any flavor of its own. You don’t taste it at all; you just get a plush, evenly-textured loaf of homemade sandwich bread. See our note below for more on what enrichment is and why it matters.
- Active Dry Yeast: Yeast brings lift, a little background flavor, and basically starts the party. Blooming it first is your insurance policy: it proves the yeast is alive and kick-starts fermentation, and you’ll see it in your first rise.
- Fine Sea Salt: Salt seasons the bread (of course) but also subtly regulates fermentation. Too little and the dough can over-proof; too much and it drags. The amount used in this recipe keeps everything on track so the dough rises evenly.
- Warm water: This wakes up the yeast and, along with the sugar, kick-starts the blooming process. Blooming just means the yeast becomes active: after 10–15 minutes, the surface should look creamy, bubbly, and slightly expanded. Aim for warm—not hot—water. Too cool and the yeast will stall; too hot and it’ll die before it can get to work. Think “comfortable bath” temperature.
- Apple Cider Vinegar: A little acid helps tighten the gluten network and keeps the crumb tender. You won’t taste it at all, but without it, the loaf wouldn’t be quite as soft or structurally sound.
- Olive Oil: Used during the first rise to coat the dough. This keeps the surface from drying out, encourages even expansion, and gives the baked crust just a hint of color.
What is an Enriched Dough?
In bread baking, enriched simply means the dough includes something beyond flour, water, yeast, and salt—an ingredient that adds softness, moisture, or richness. Classic examples are milk, butter, and eggs in traditional sandwich bread.
For this sandwich bread recipe, silken tofu steps in as the enrichment. It brings moisture, a little protein, and that plush, even crumb you want in homemade sandwich bread—without adding any flavor. You won’t taste the tofu at all, but you will feel the difference in the texture.
How To Make this Sandwich Bread Recipe
Making good sandwich bread isn’t complicated—it’s just a series of small, simple steps that work together to give you lift, structure, and softness. This walkthrough shows you what each stage should look and feel like so the whole process clicks into place, even if you’ve never baked bread before. For full measurements and instructions, scroll to the recipe card at the bottom of this post!
Step 1: Create a Warm Proofing Environment – Bread dough rises best in a warm, draft-free spot (ideally 80–85°F), which gives the yeast a steady, predictable lift without drying the dough out. The easiest way to nail this every time is the oven-light method:
- Turn your oven light on for 45–60 minutes before you start mixing the dough. It gently warms the oven to the perfect proofing temperature without adding moisture or risking too much heat.
- Leave the light on during both rises to keep the warm environment stable and consistent.
Other good warm spots: on top of the fridge, next to a radiator, or near a sunny window. Anywhere gently warm, not hot.
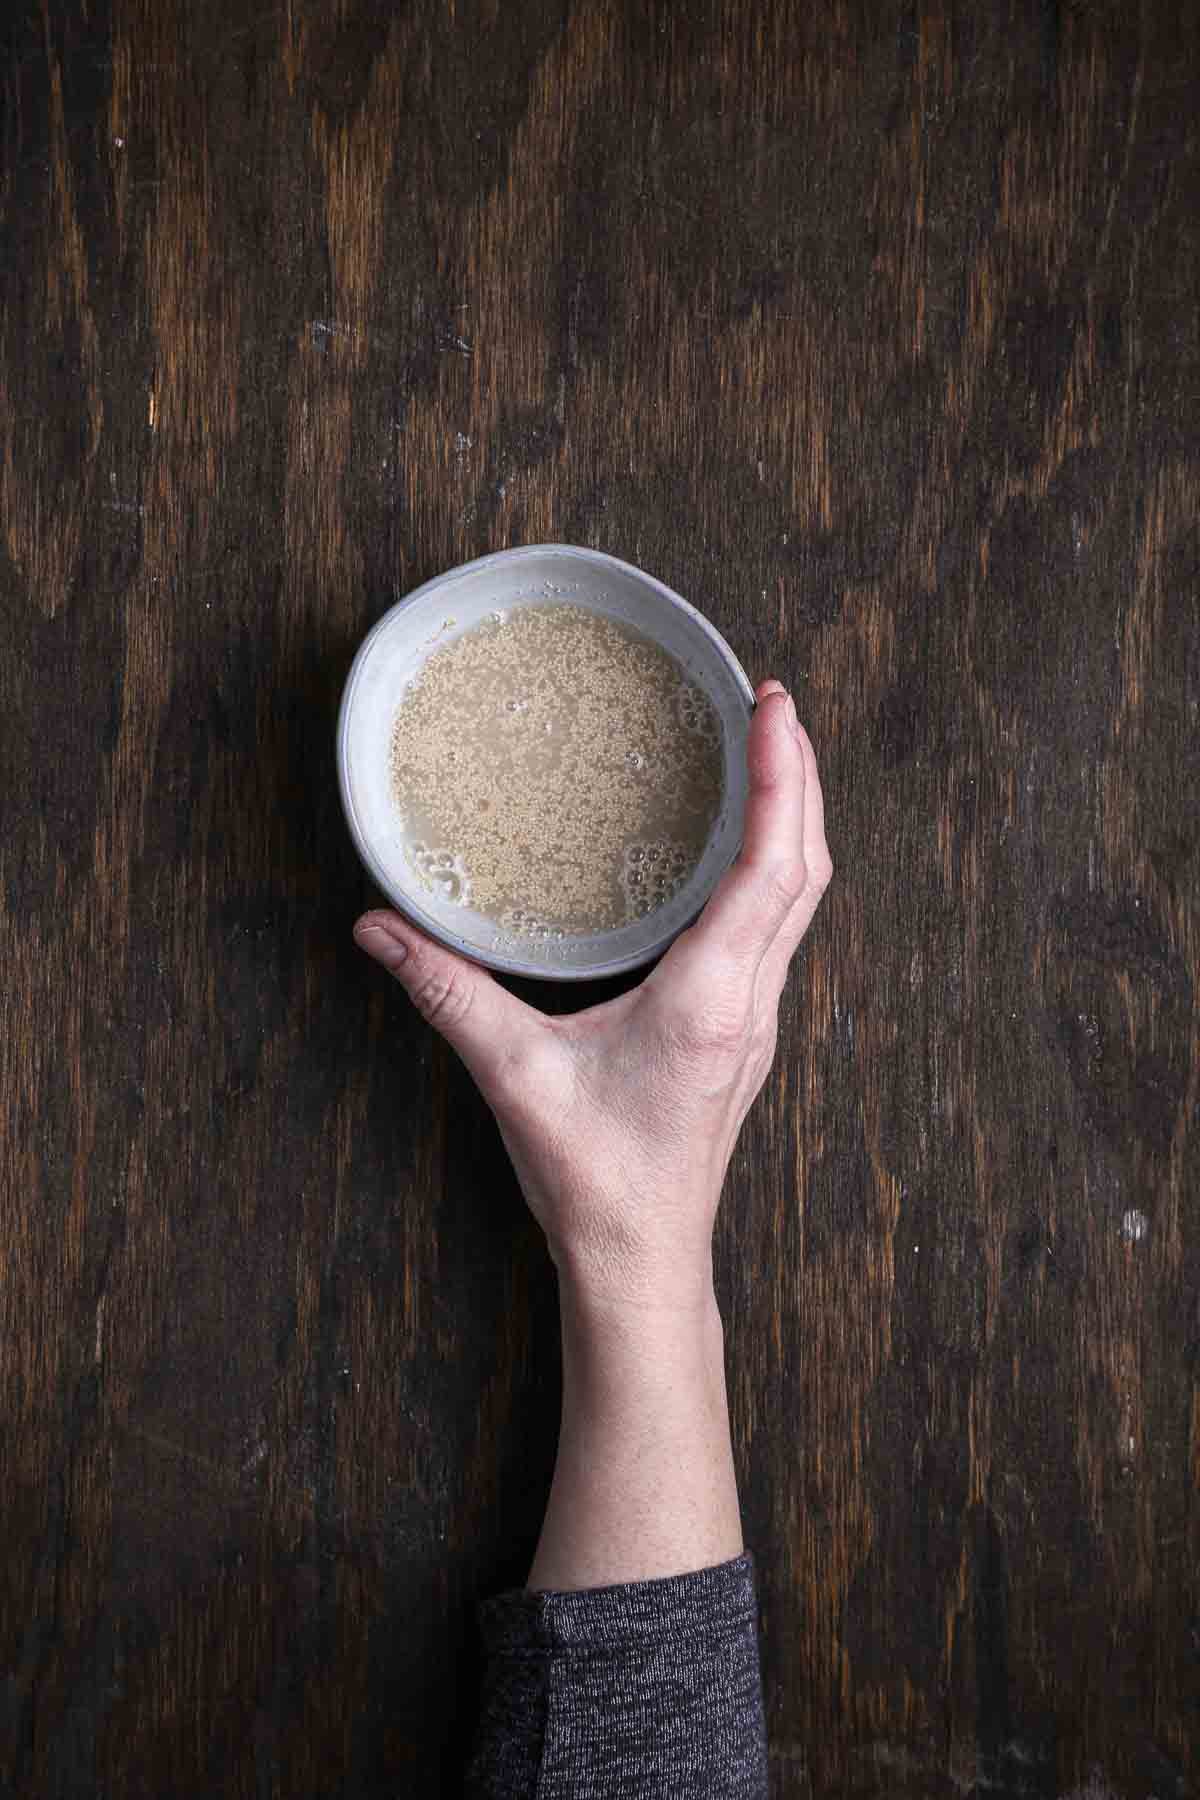
Step 2: Bloom the yeast – Start by waking up the yeast. Warm water + sugar + 10–15 minutes = all it needs. When the surface looks foamy and creamy, you’re good to go. If it stays flat, the yeast is dead—start over now instead of losing an hour later.

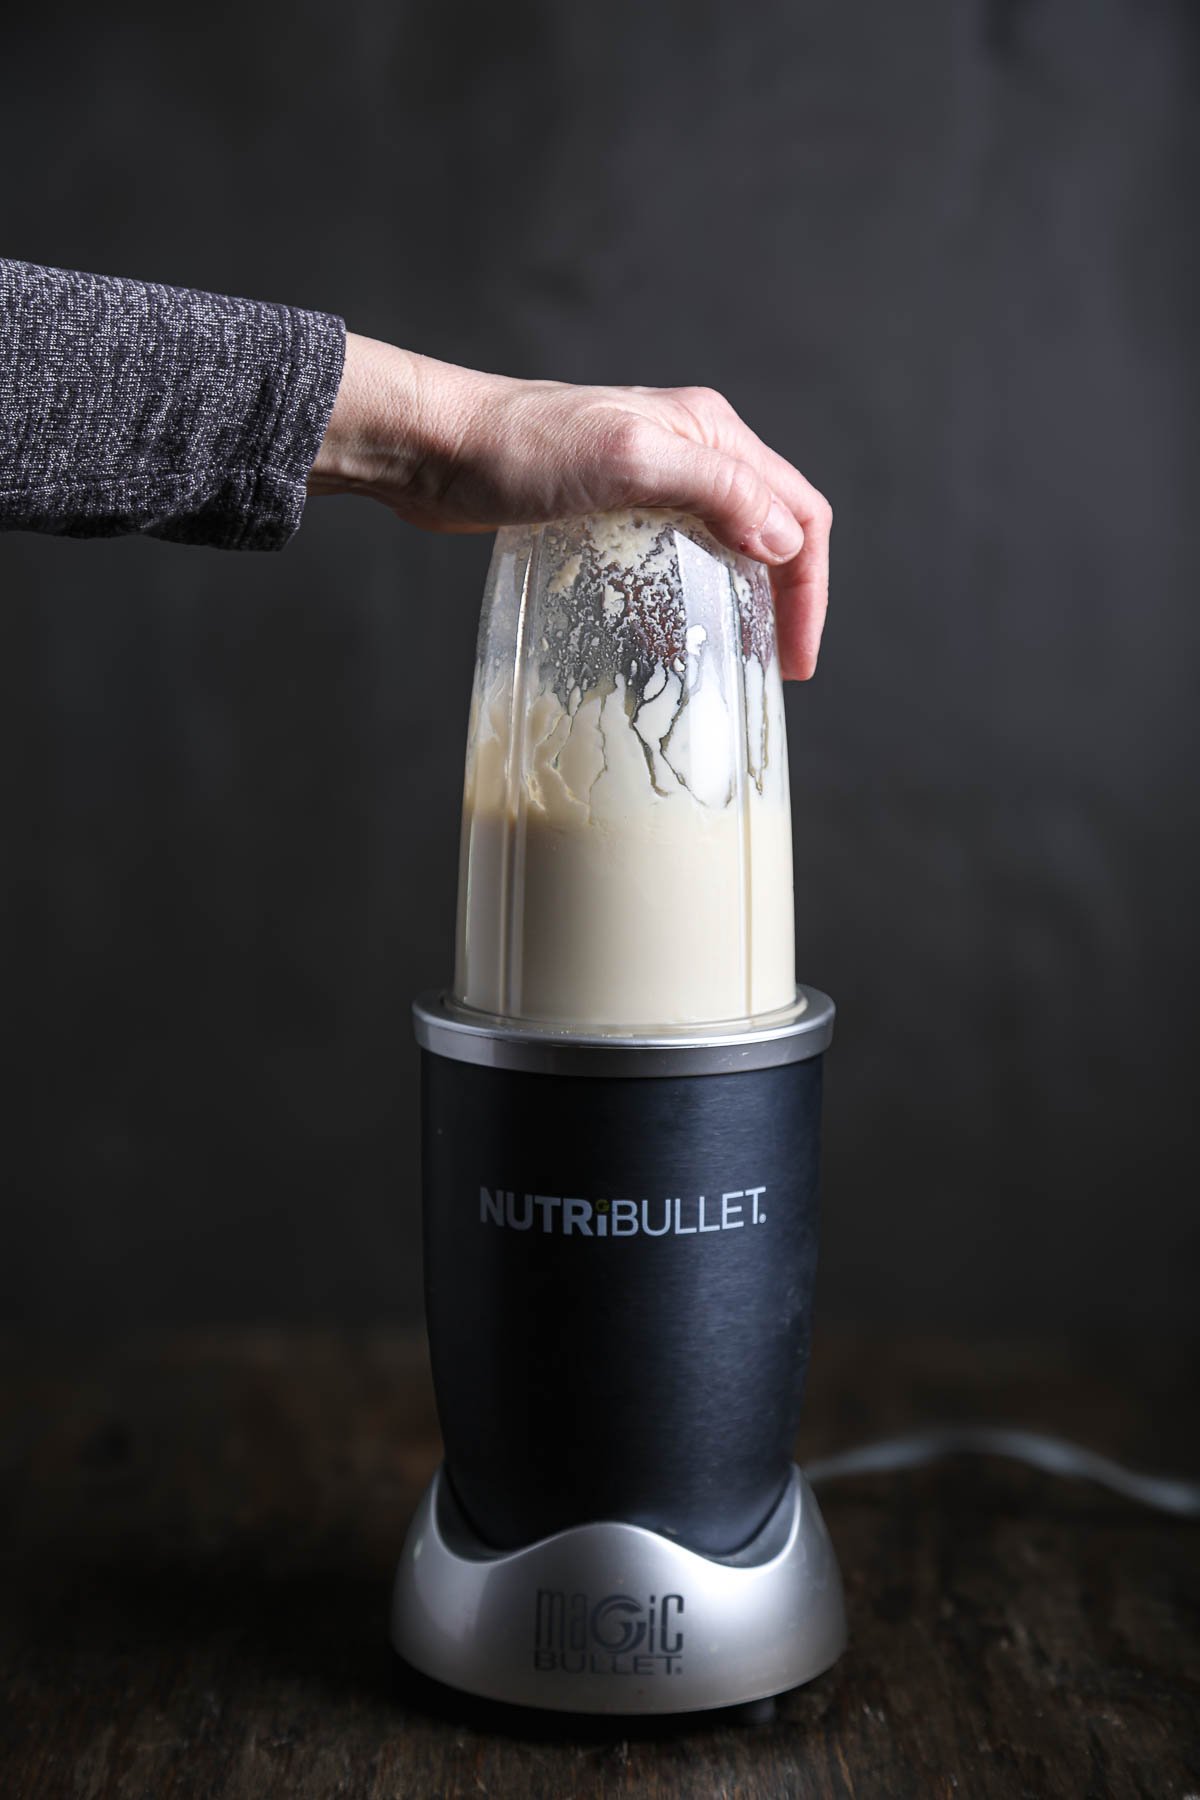
Step 3: Blend the tofu base – Add the silken tofu, salt, and apple cider vinegar to a blender and let it go until the mixture is completely smooth. This is your enrichment—what keeps the crumb soft and gives the loaf its even structure.
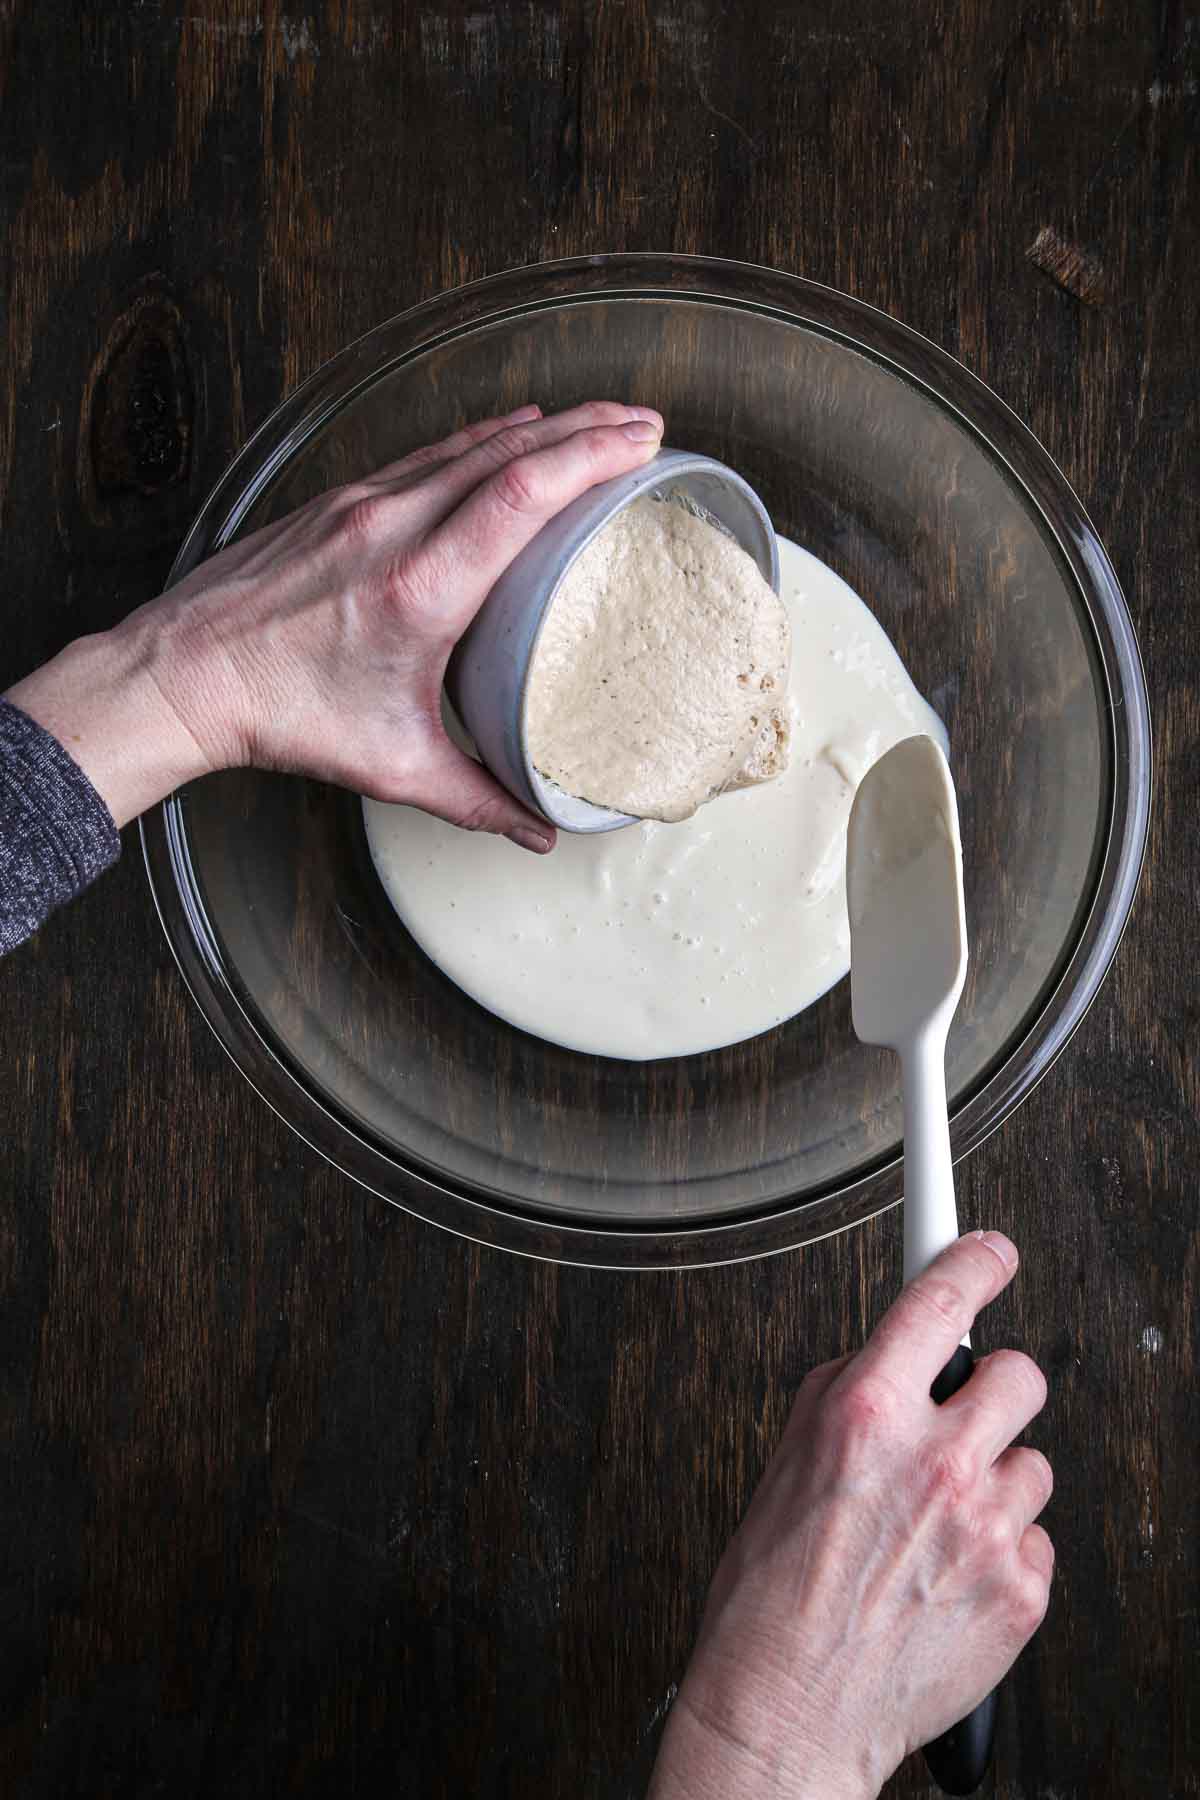
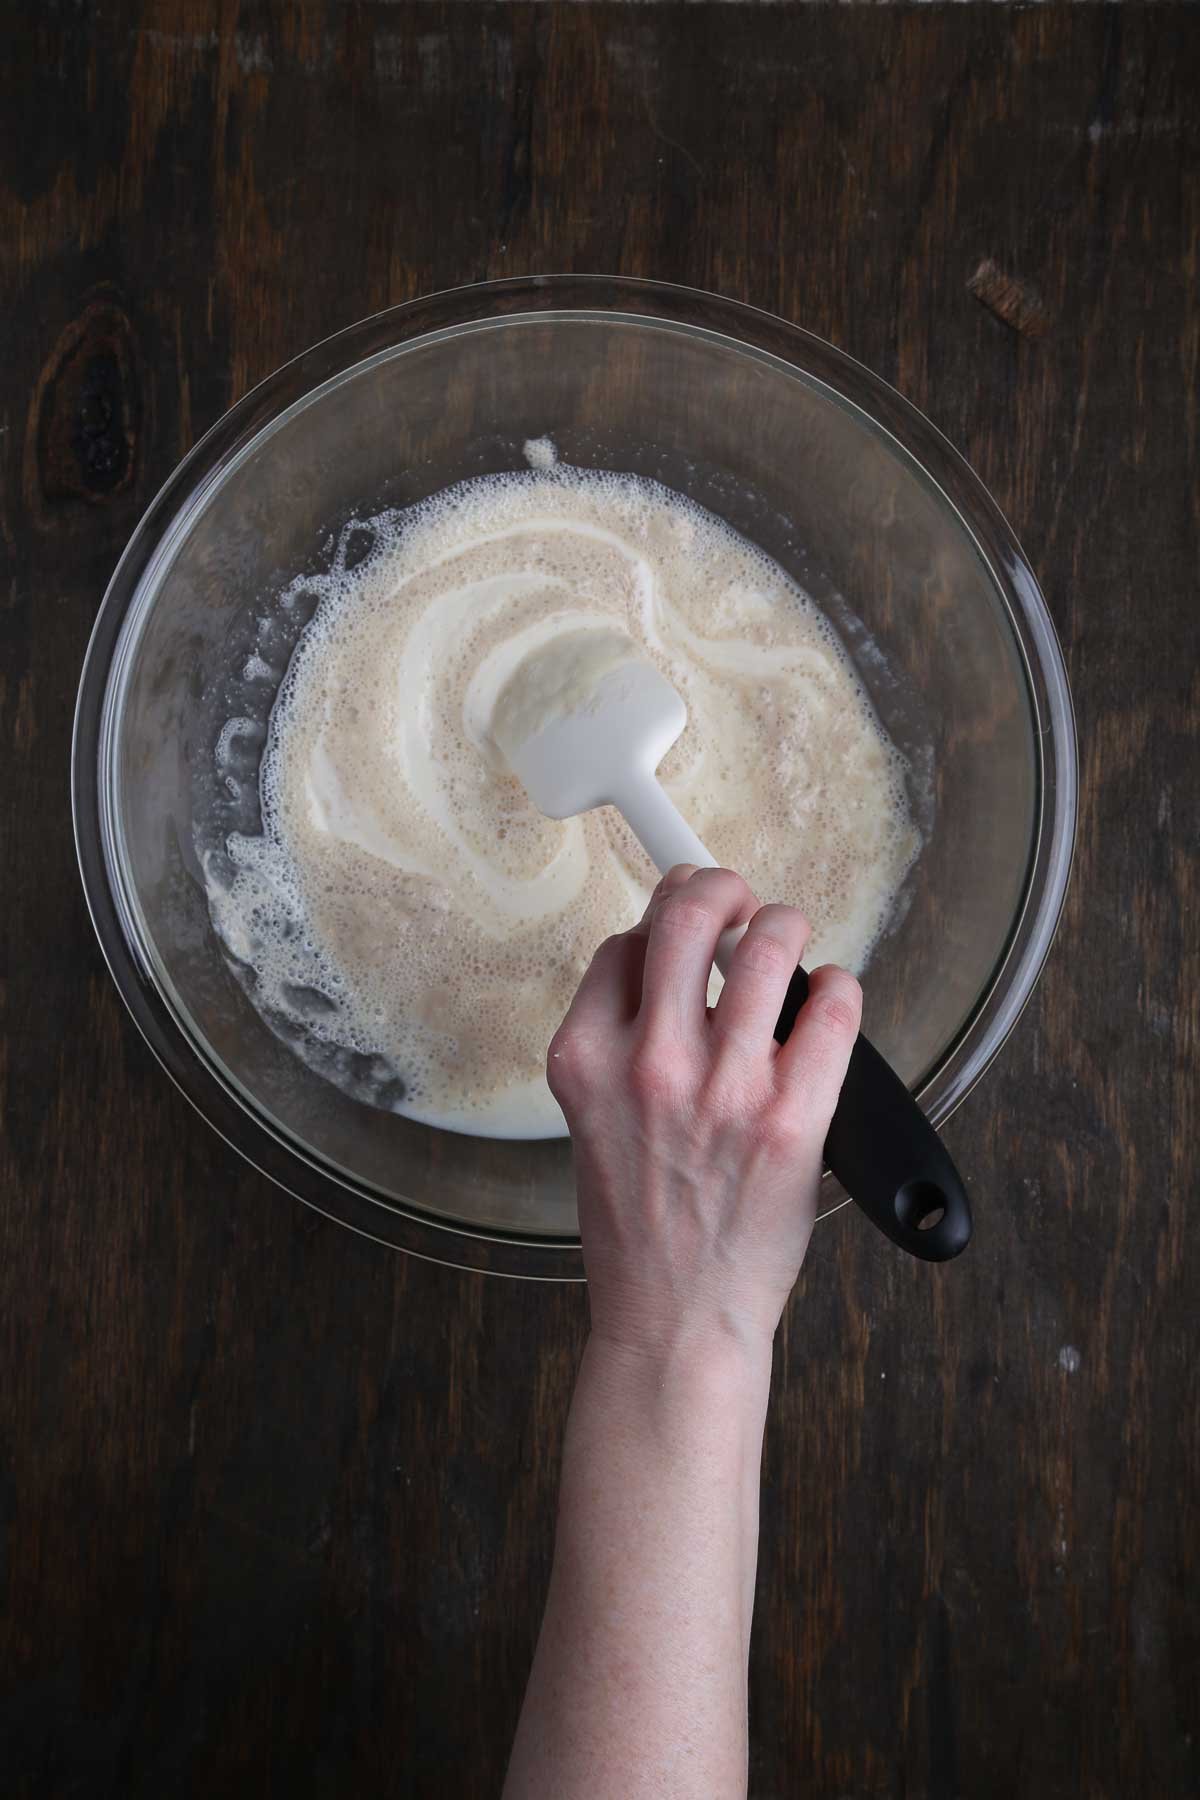
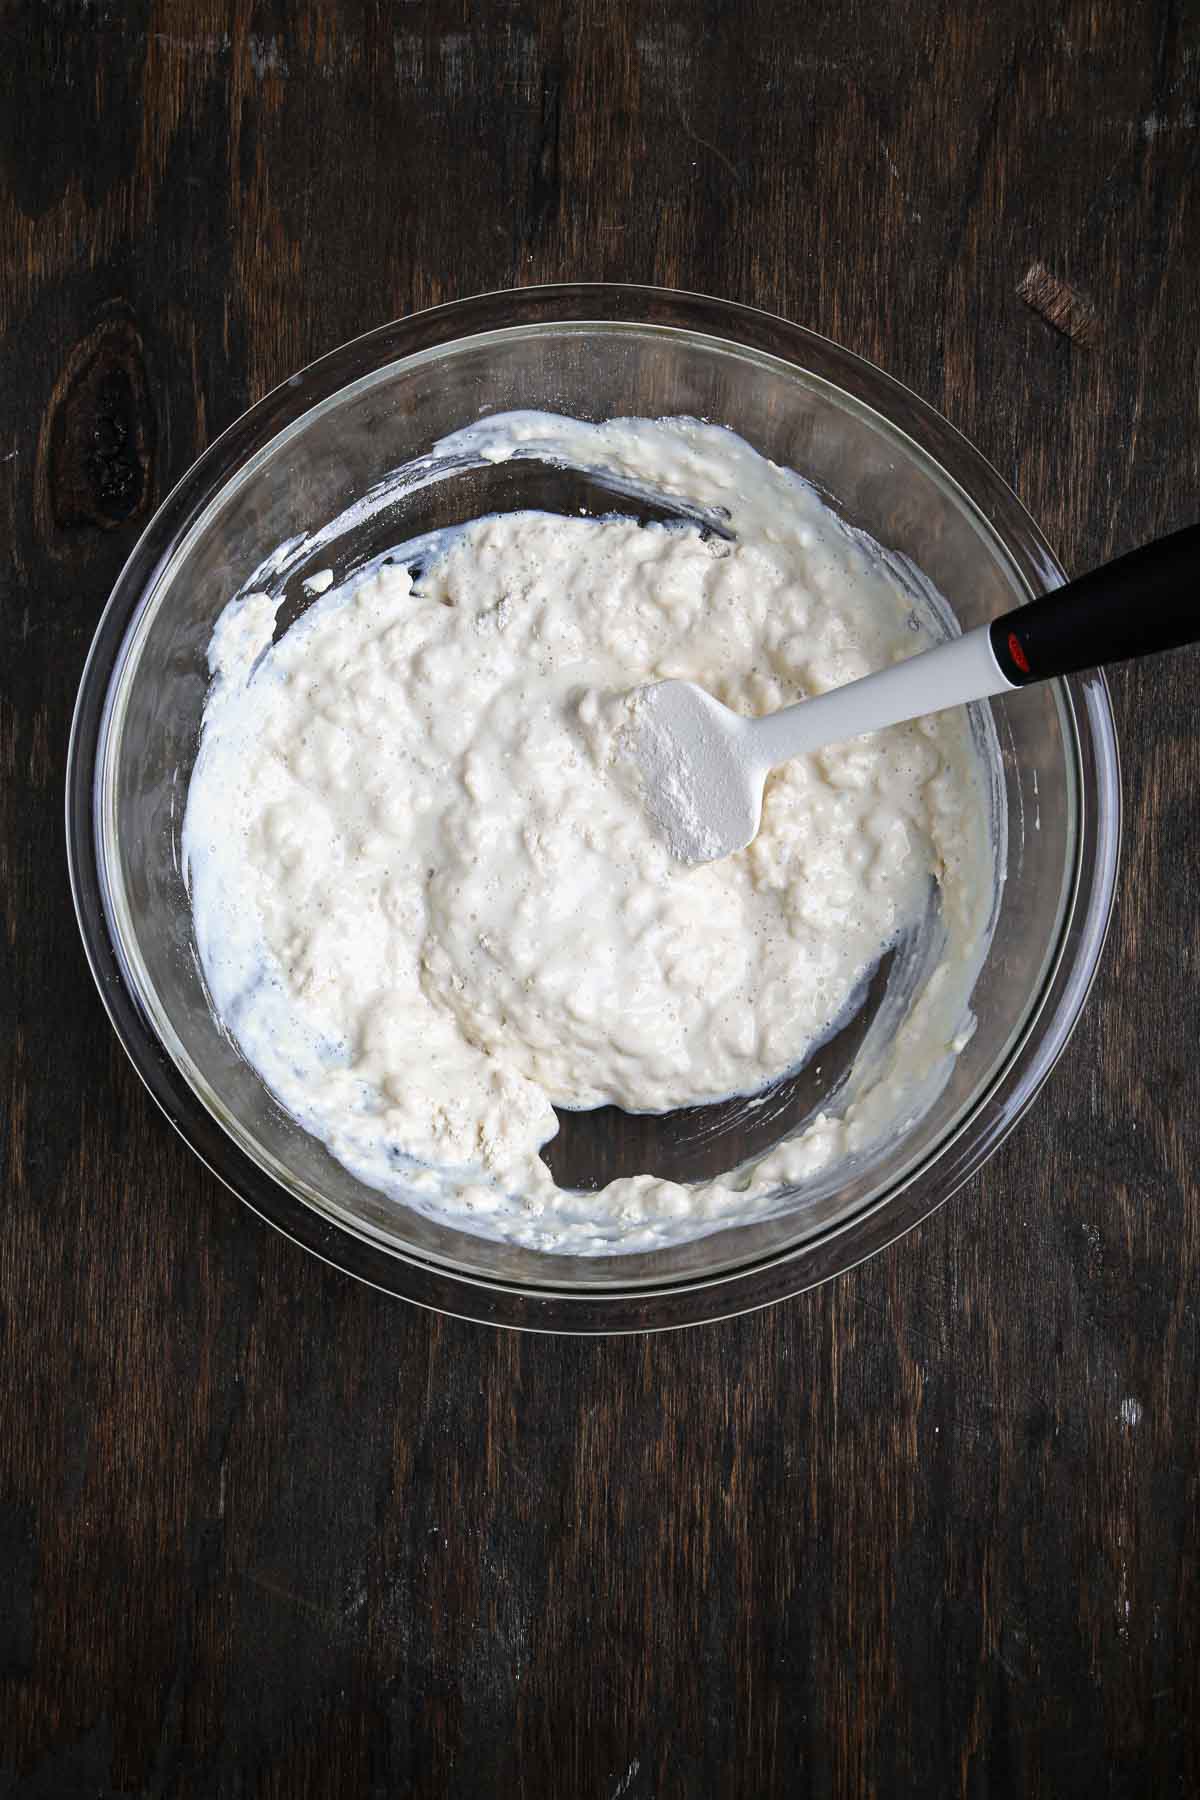
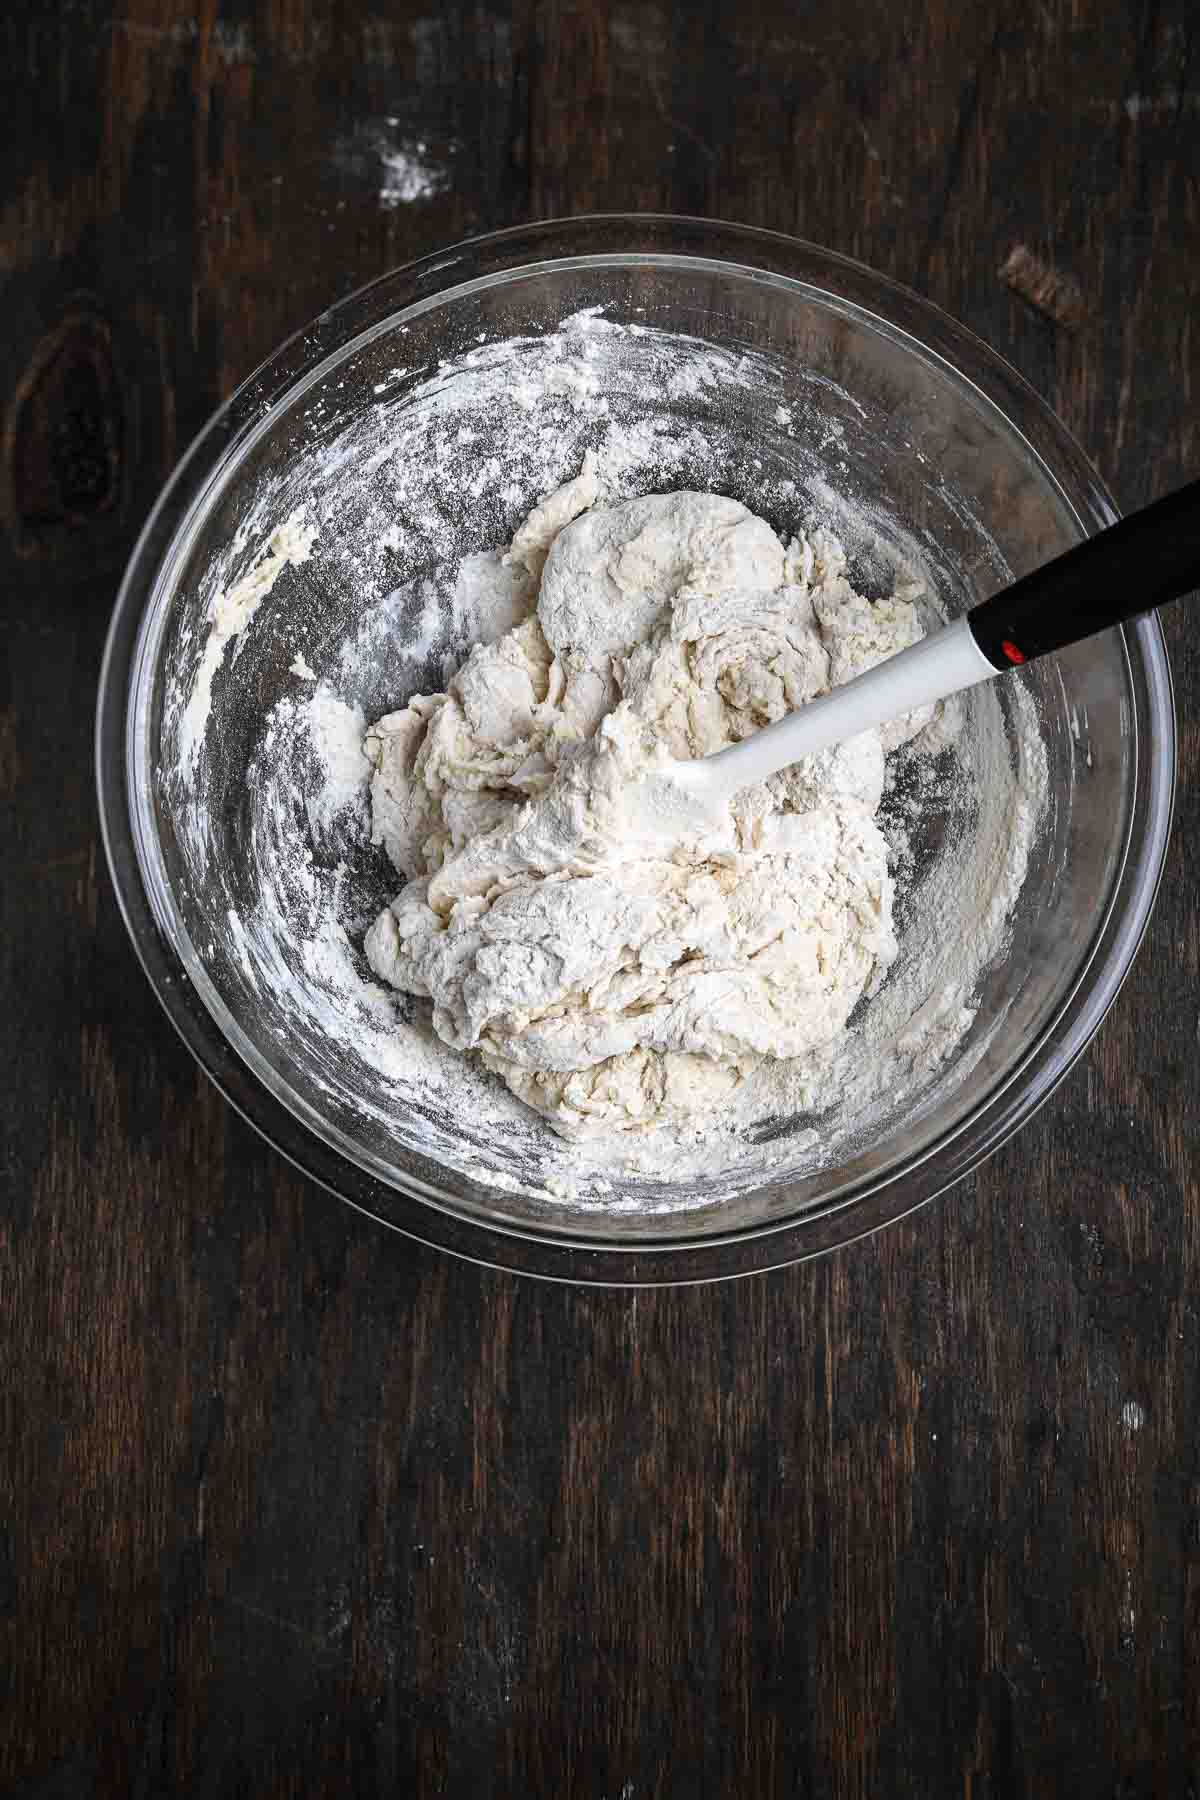
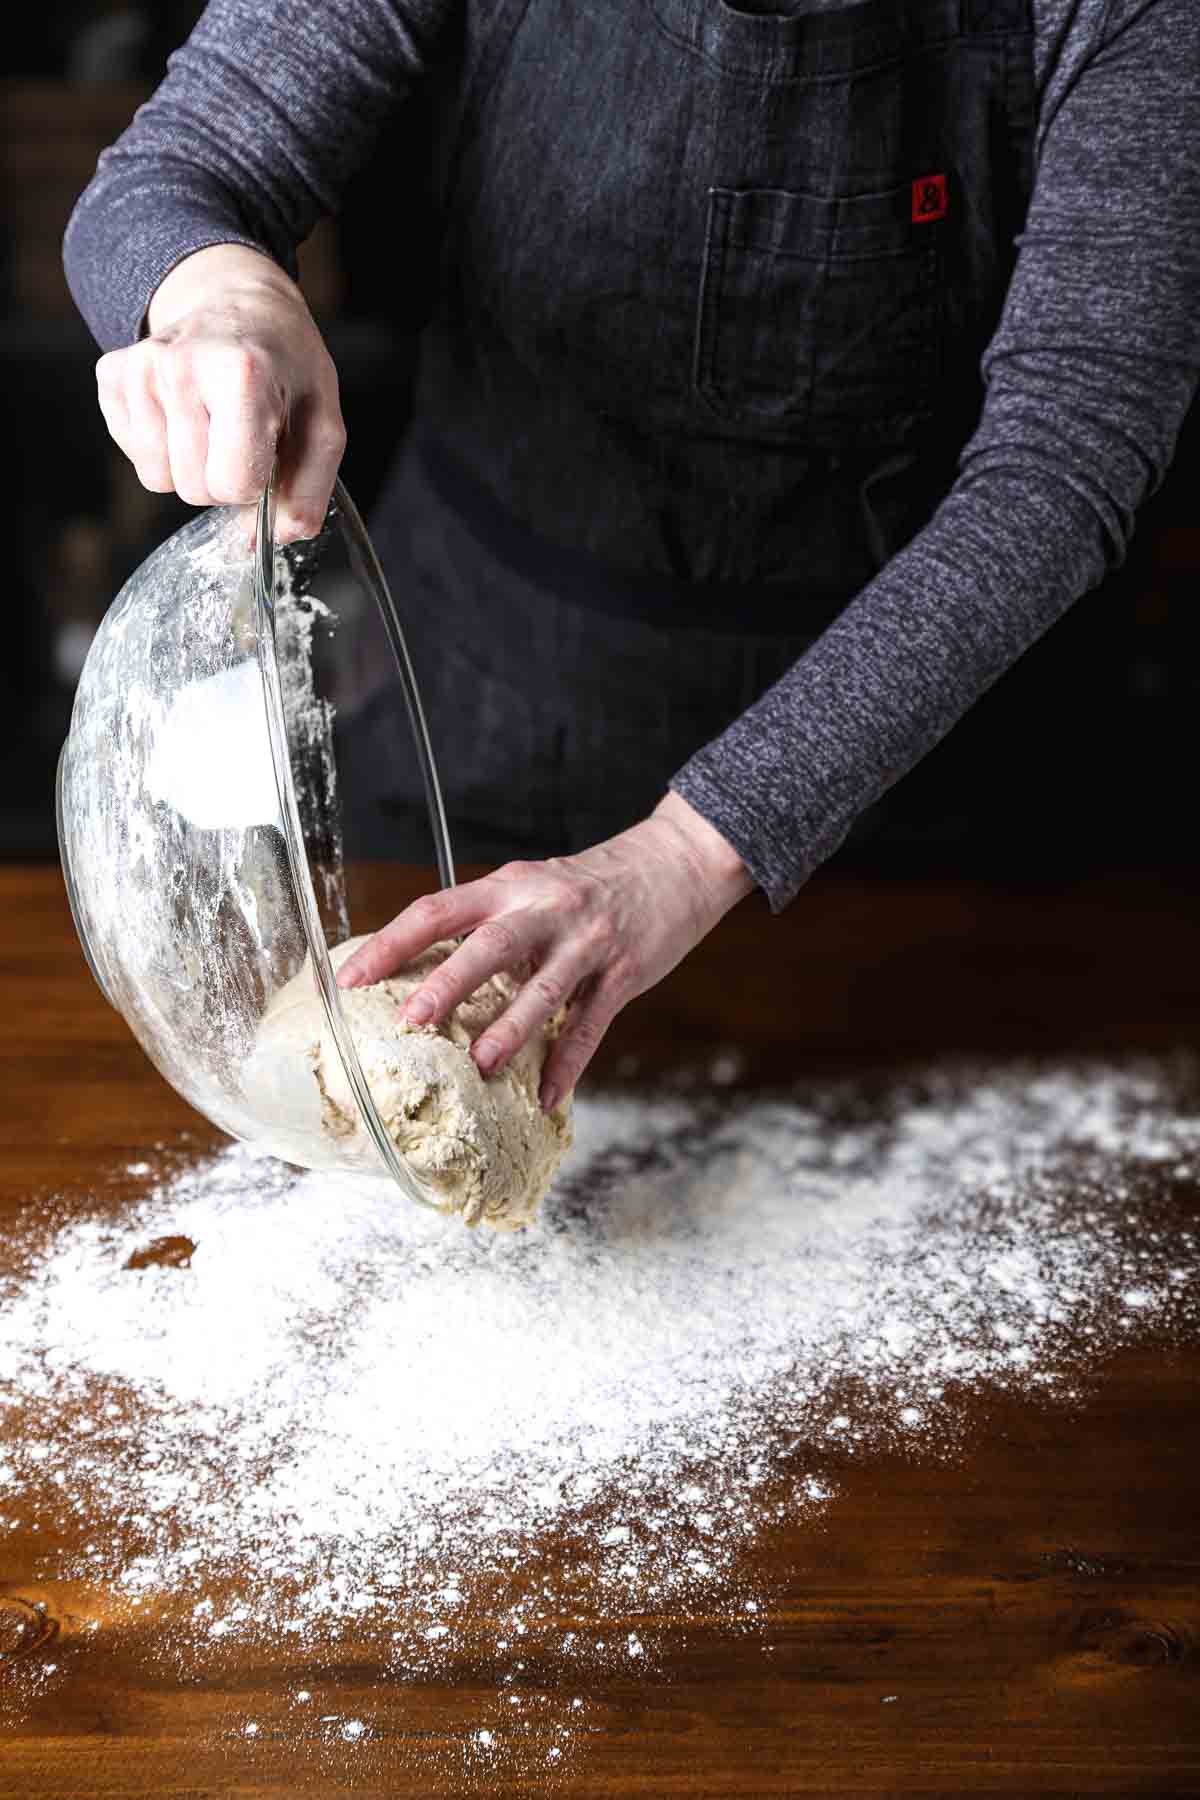
Step 4: Mix and hydrate the dough – Combine the tofu mixture with the bloomed yeast in a large bowl. Add the flour in stages until the dough turns shaggy and starts pulling away from the bowl. Cover it and let it rest for 10–15 minutes. That short rest hydrates the flour and makes kneading much easier.


Why This Rest Matters
When flour first meets liquid, it needs a few minutes to fully absorb it. That short rest lets the gluten start forming on its own, which means the dough tightens up, becomes easier to knead, and gets smoother faster. Think of it as giving the dough a head start so you don’t have to work as hard.
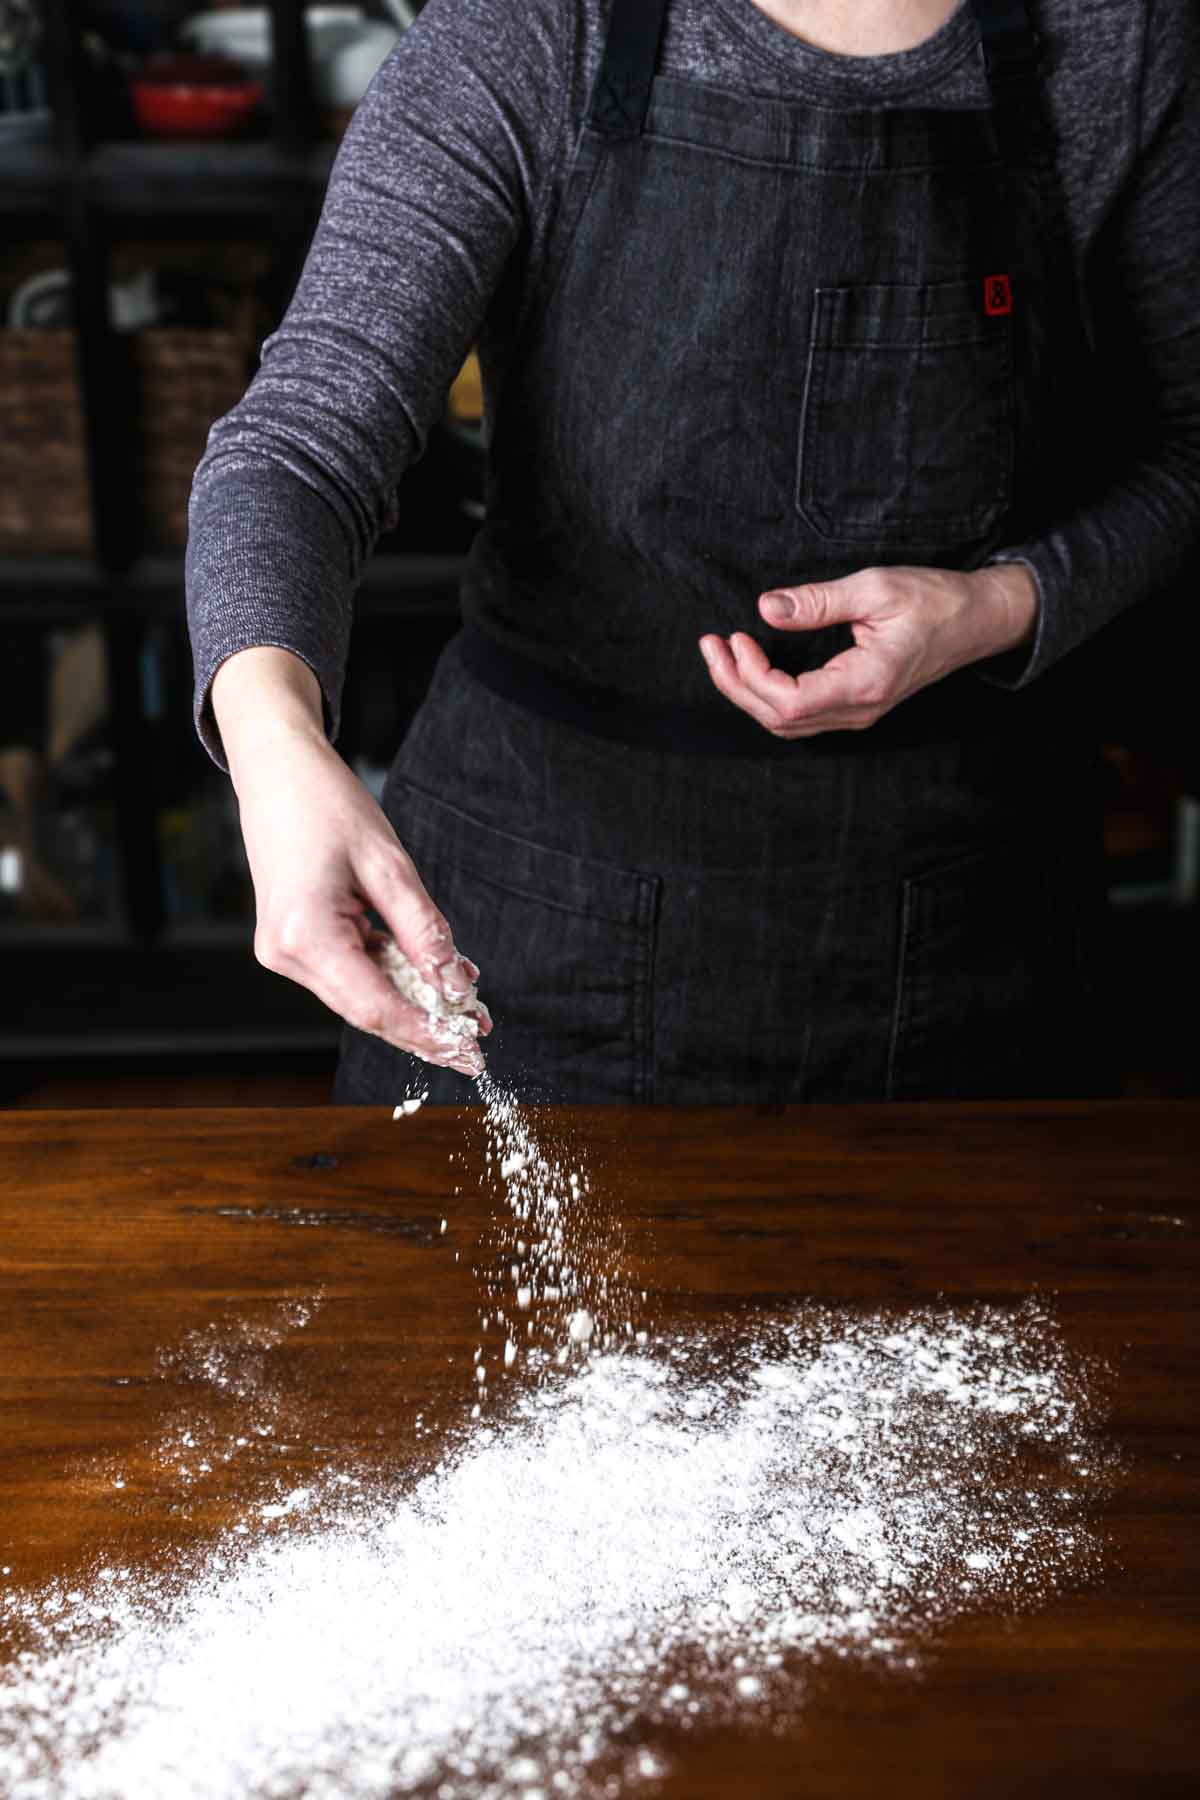
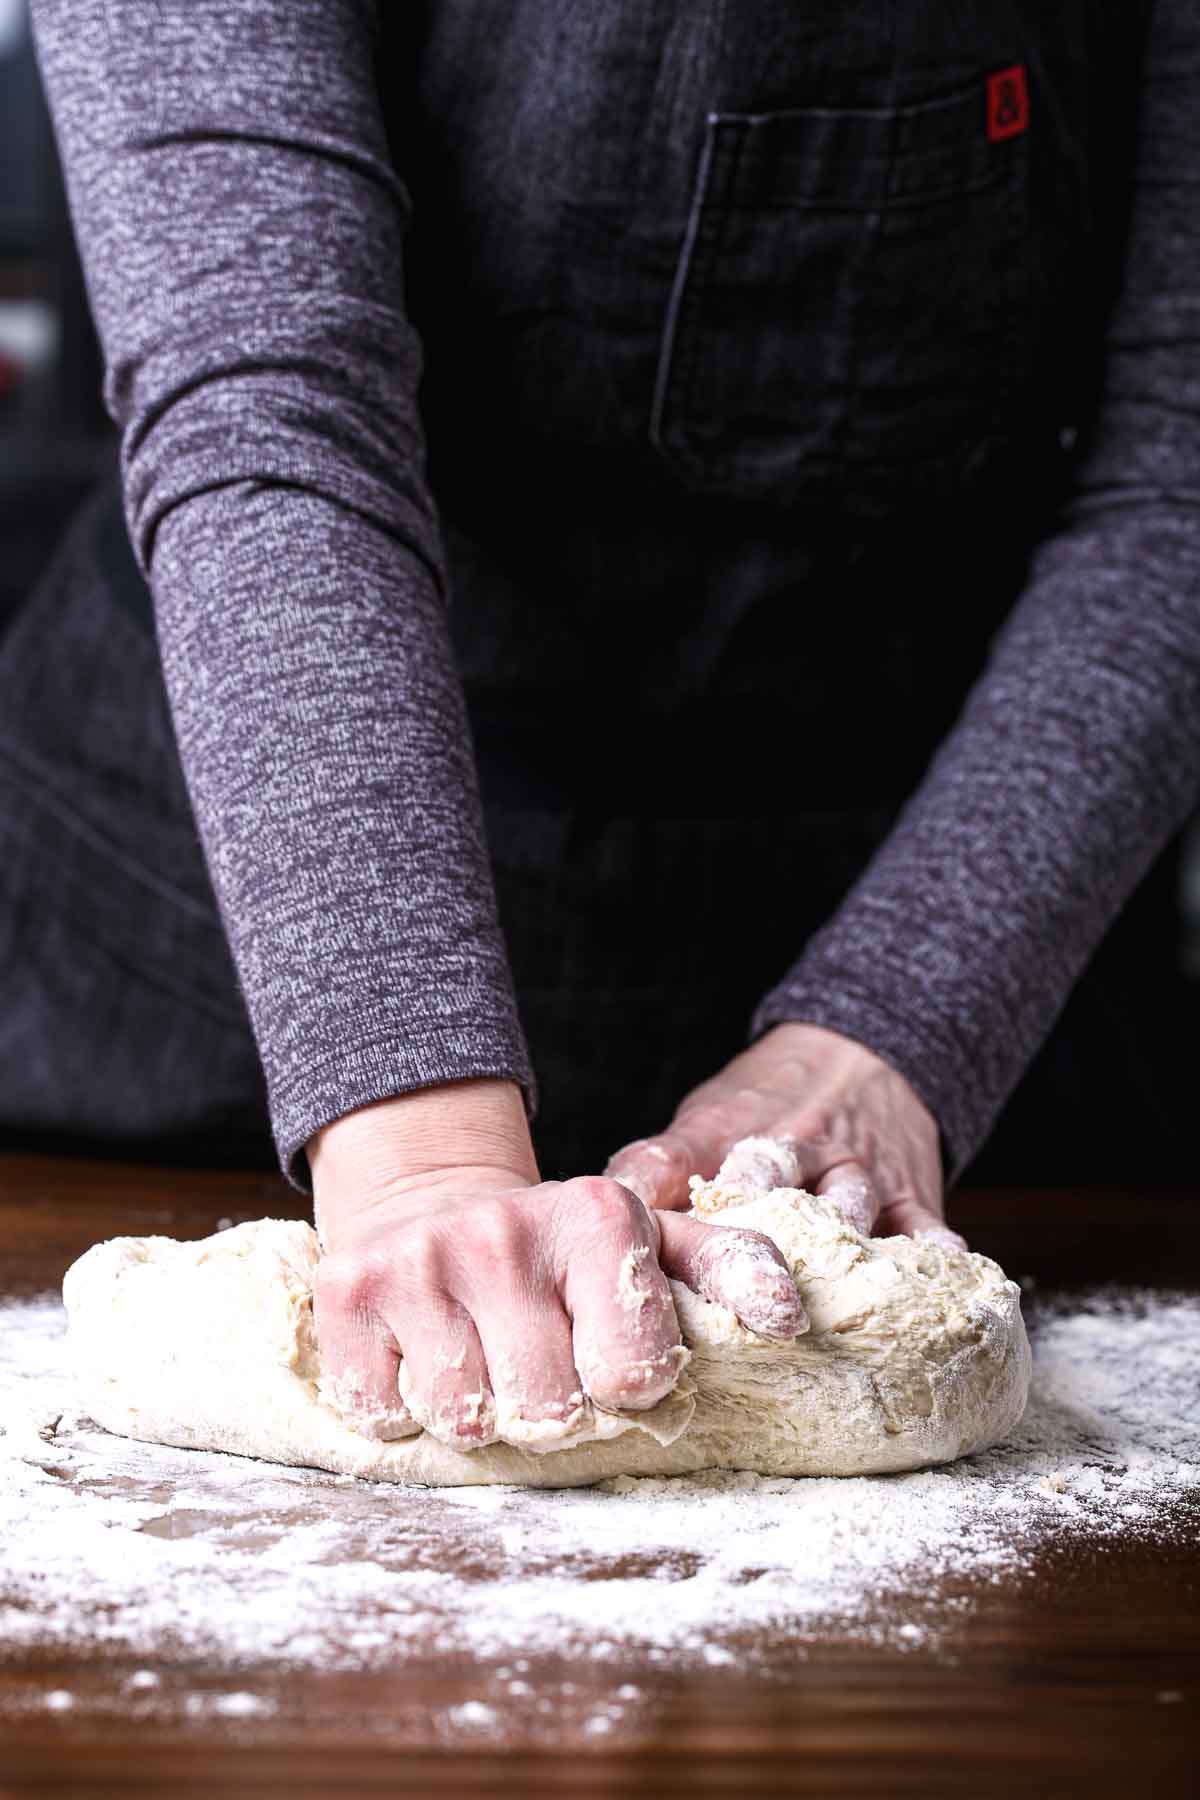
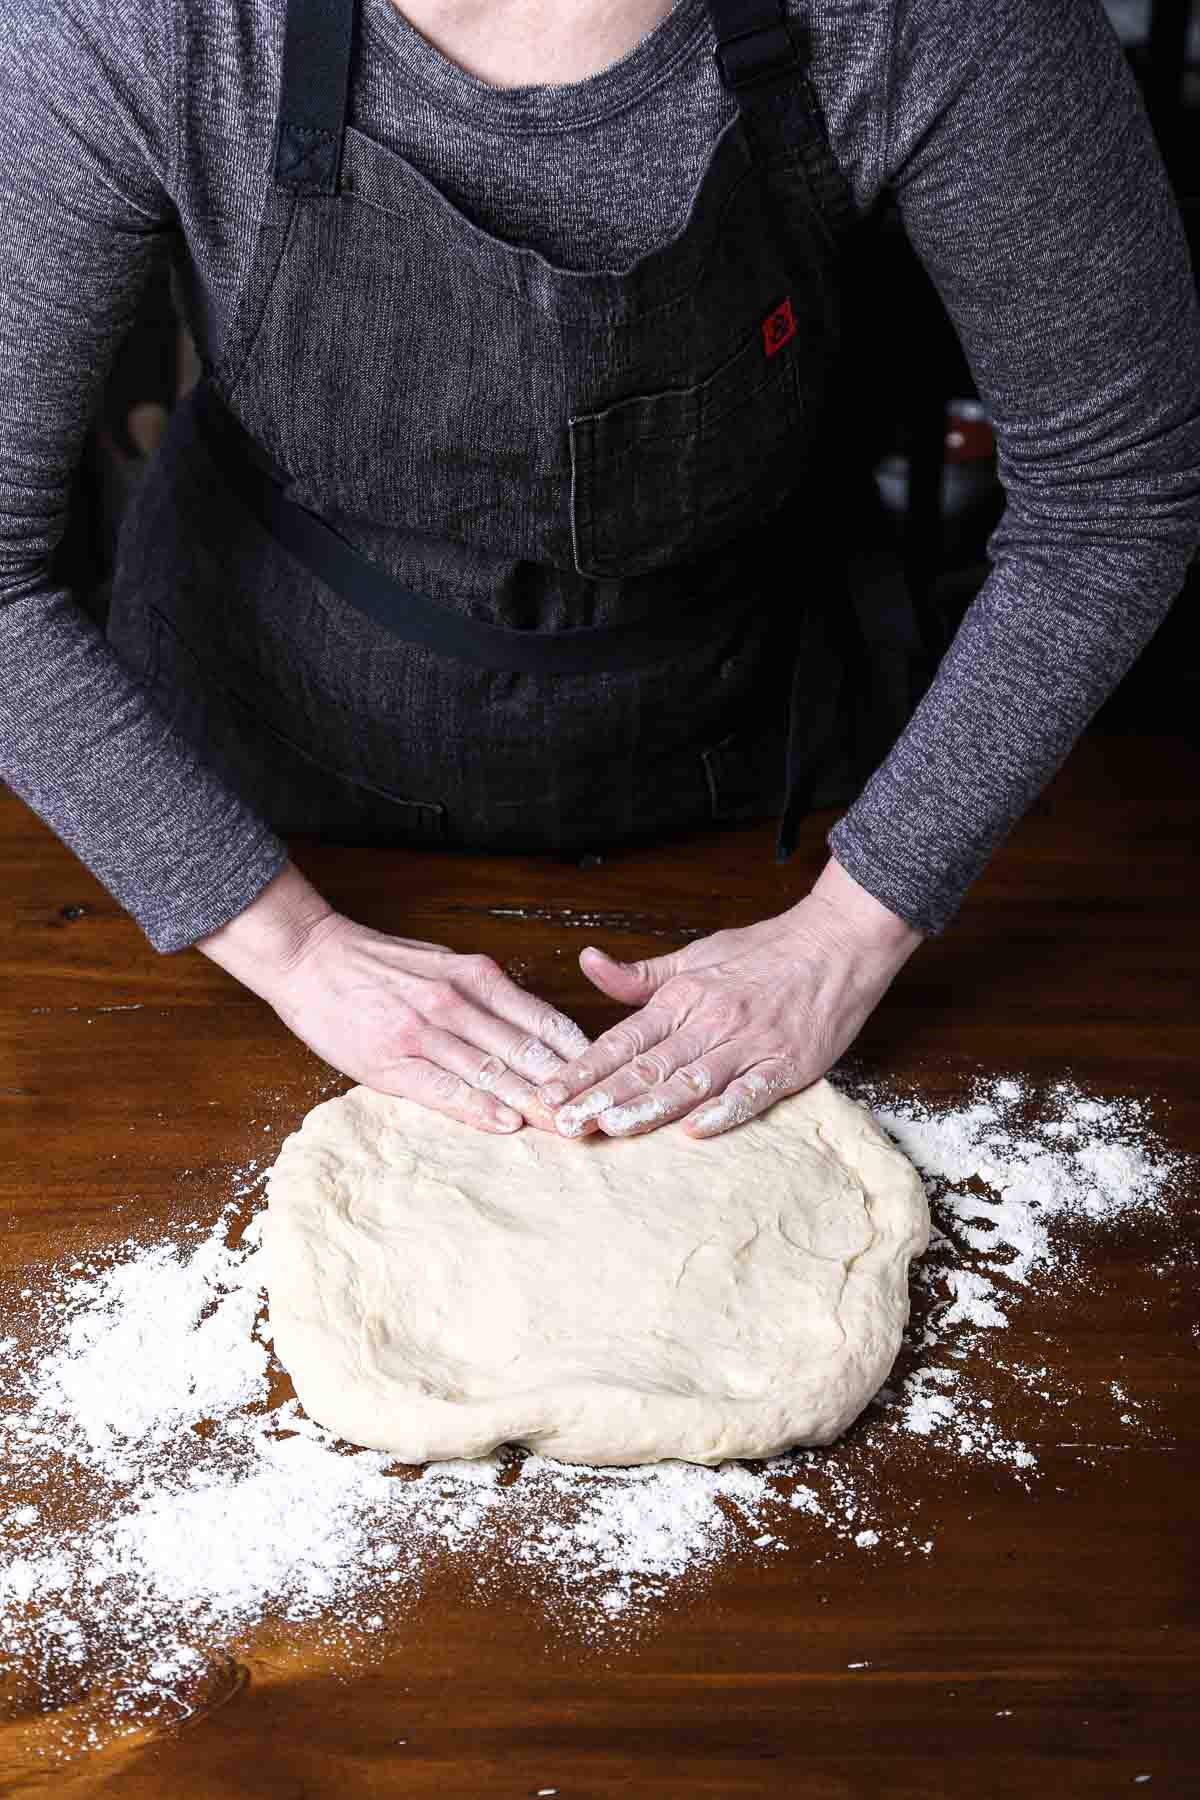
Step 5: Knead – Turn the dough out onto a lightly floured surface and knead for 5–7 minutes. You’re aiming for smooth, elastic, and slightly tacky. If it’s sticky, dust tiny amounts of flour on the table—not the dough—until it becomes workable.

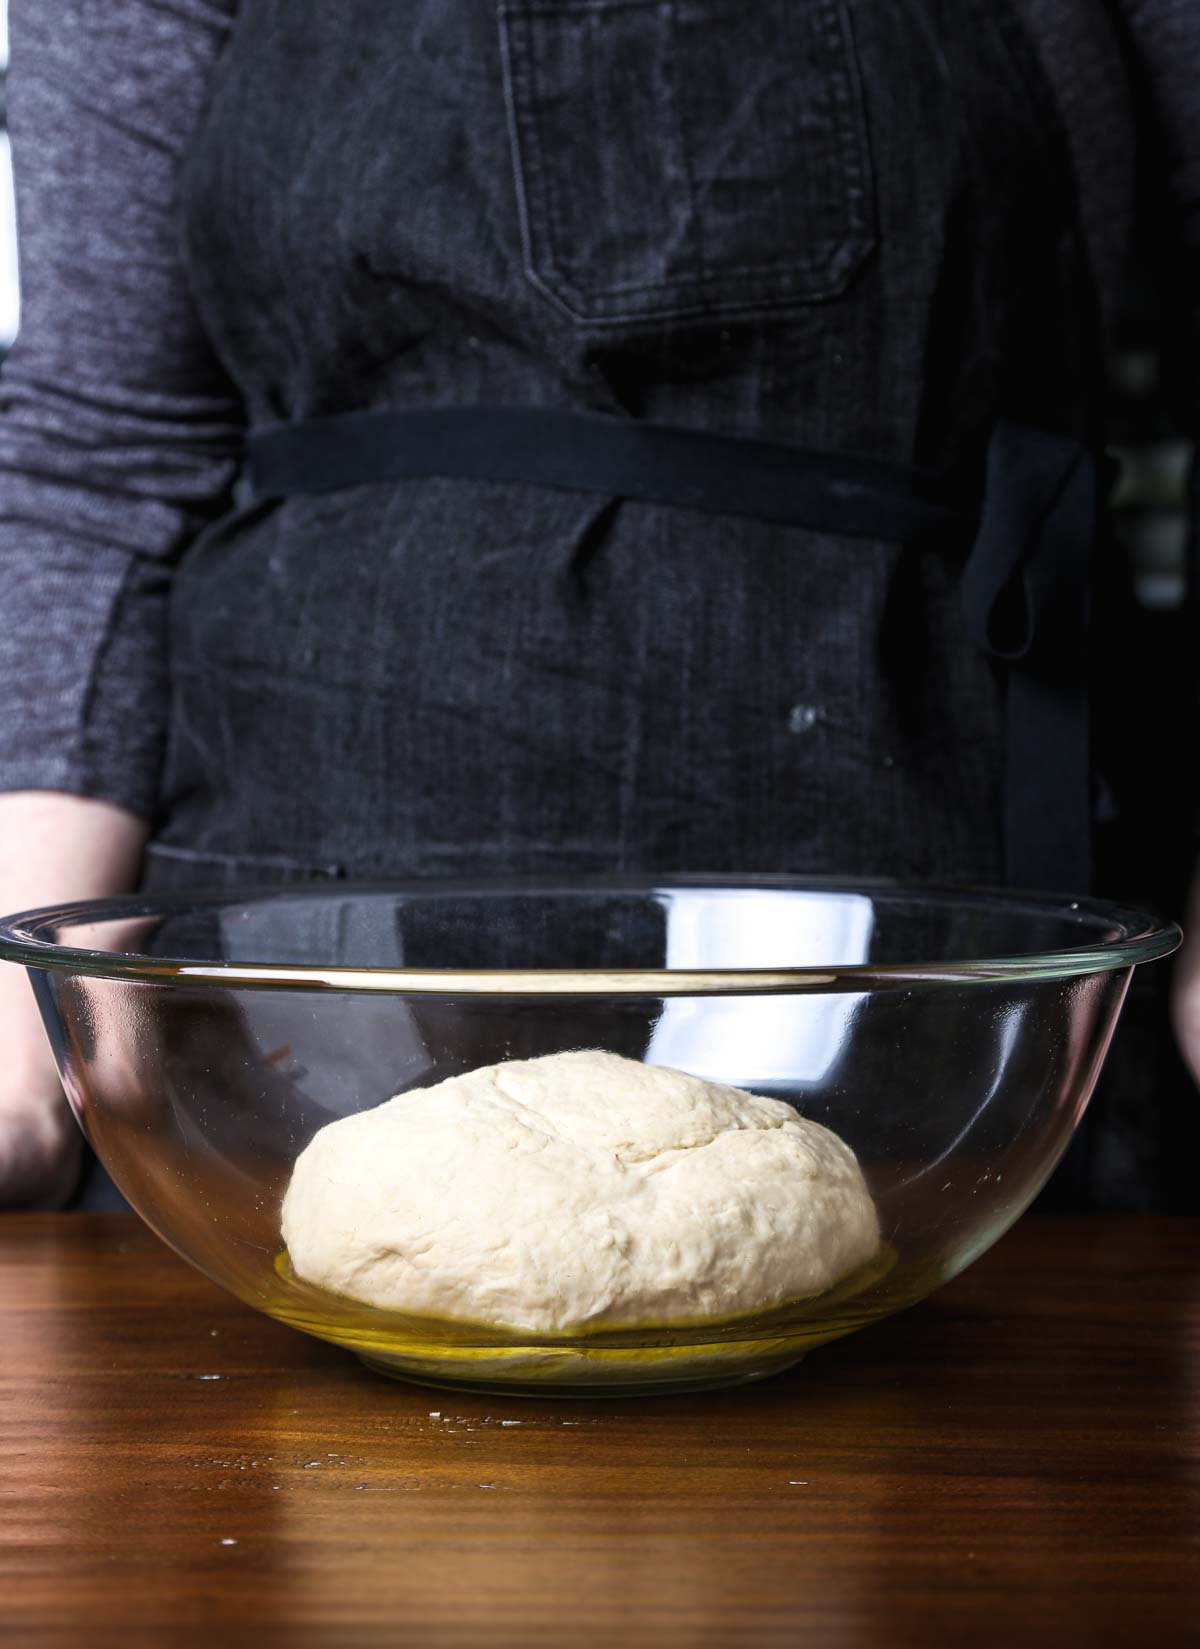
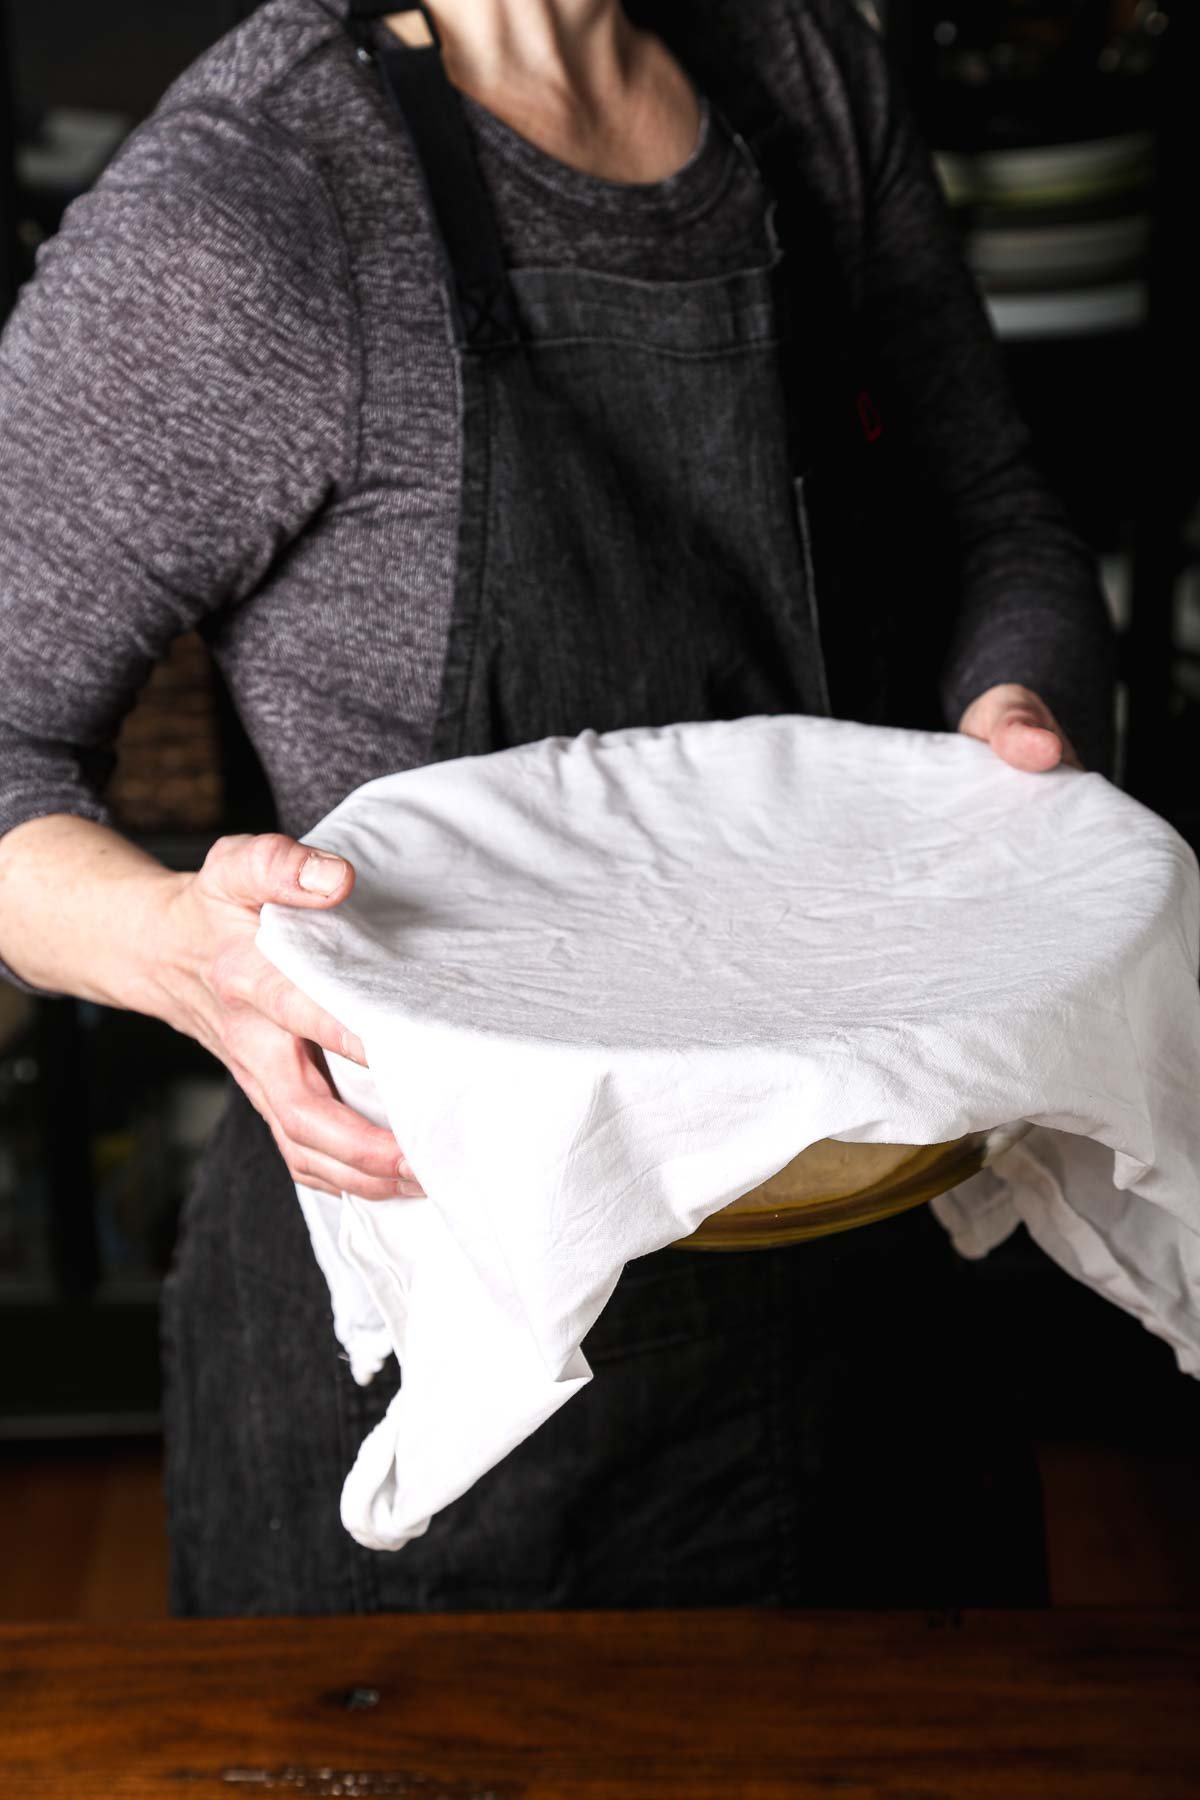
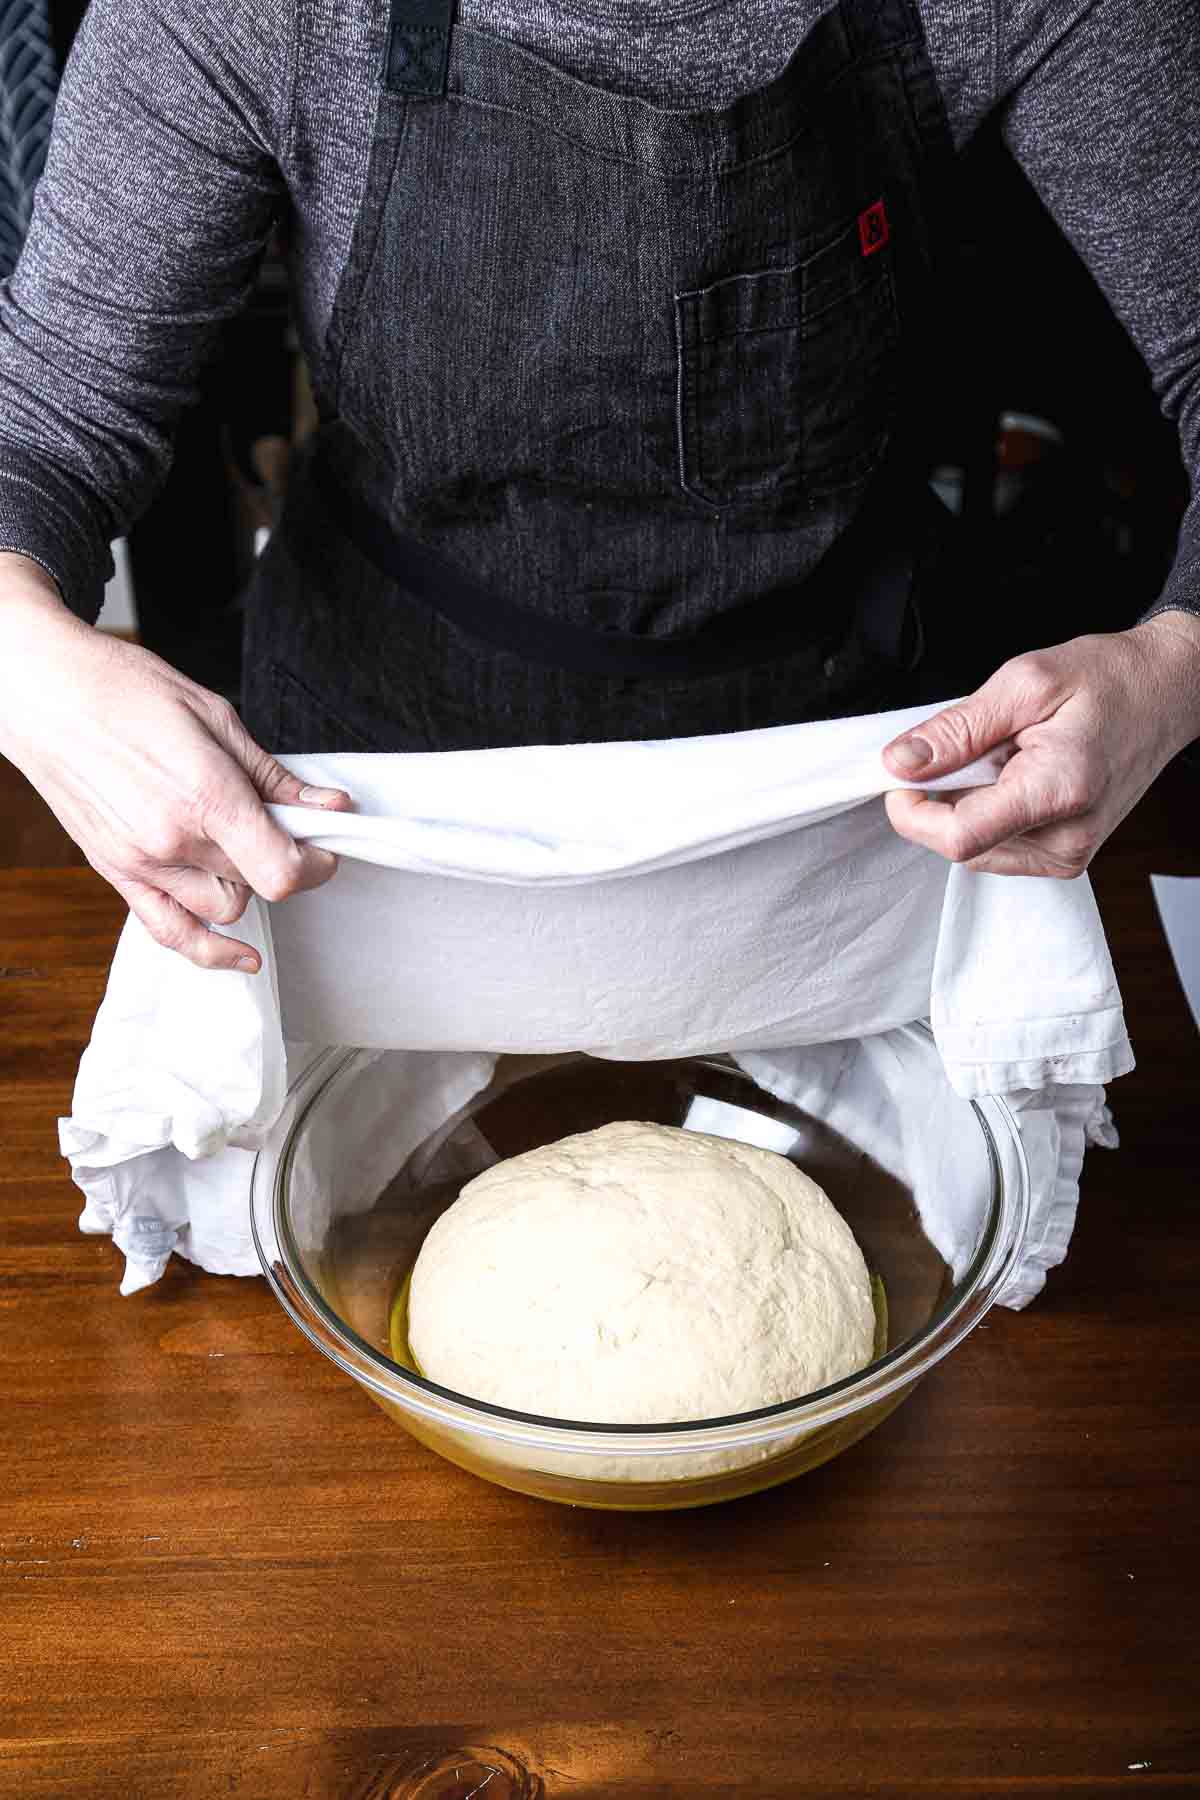
Step 6: First rise – Coat the dough lightly in oil, cover the bowl, and place it somewhere warm (your oven with just the light on works beautifully). After 1–1½ hours, the dough should look puffed and doubled in size.
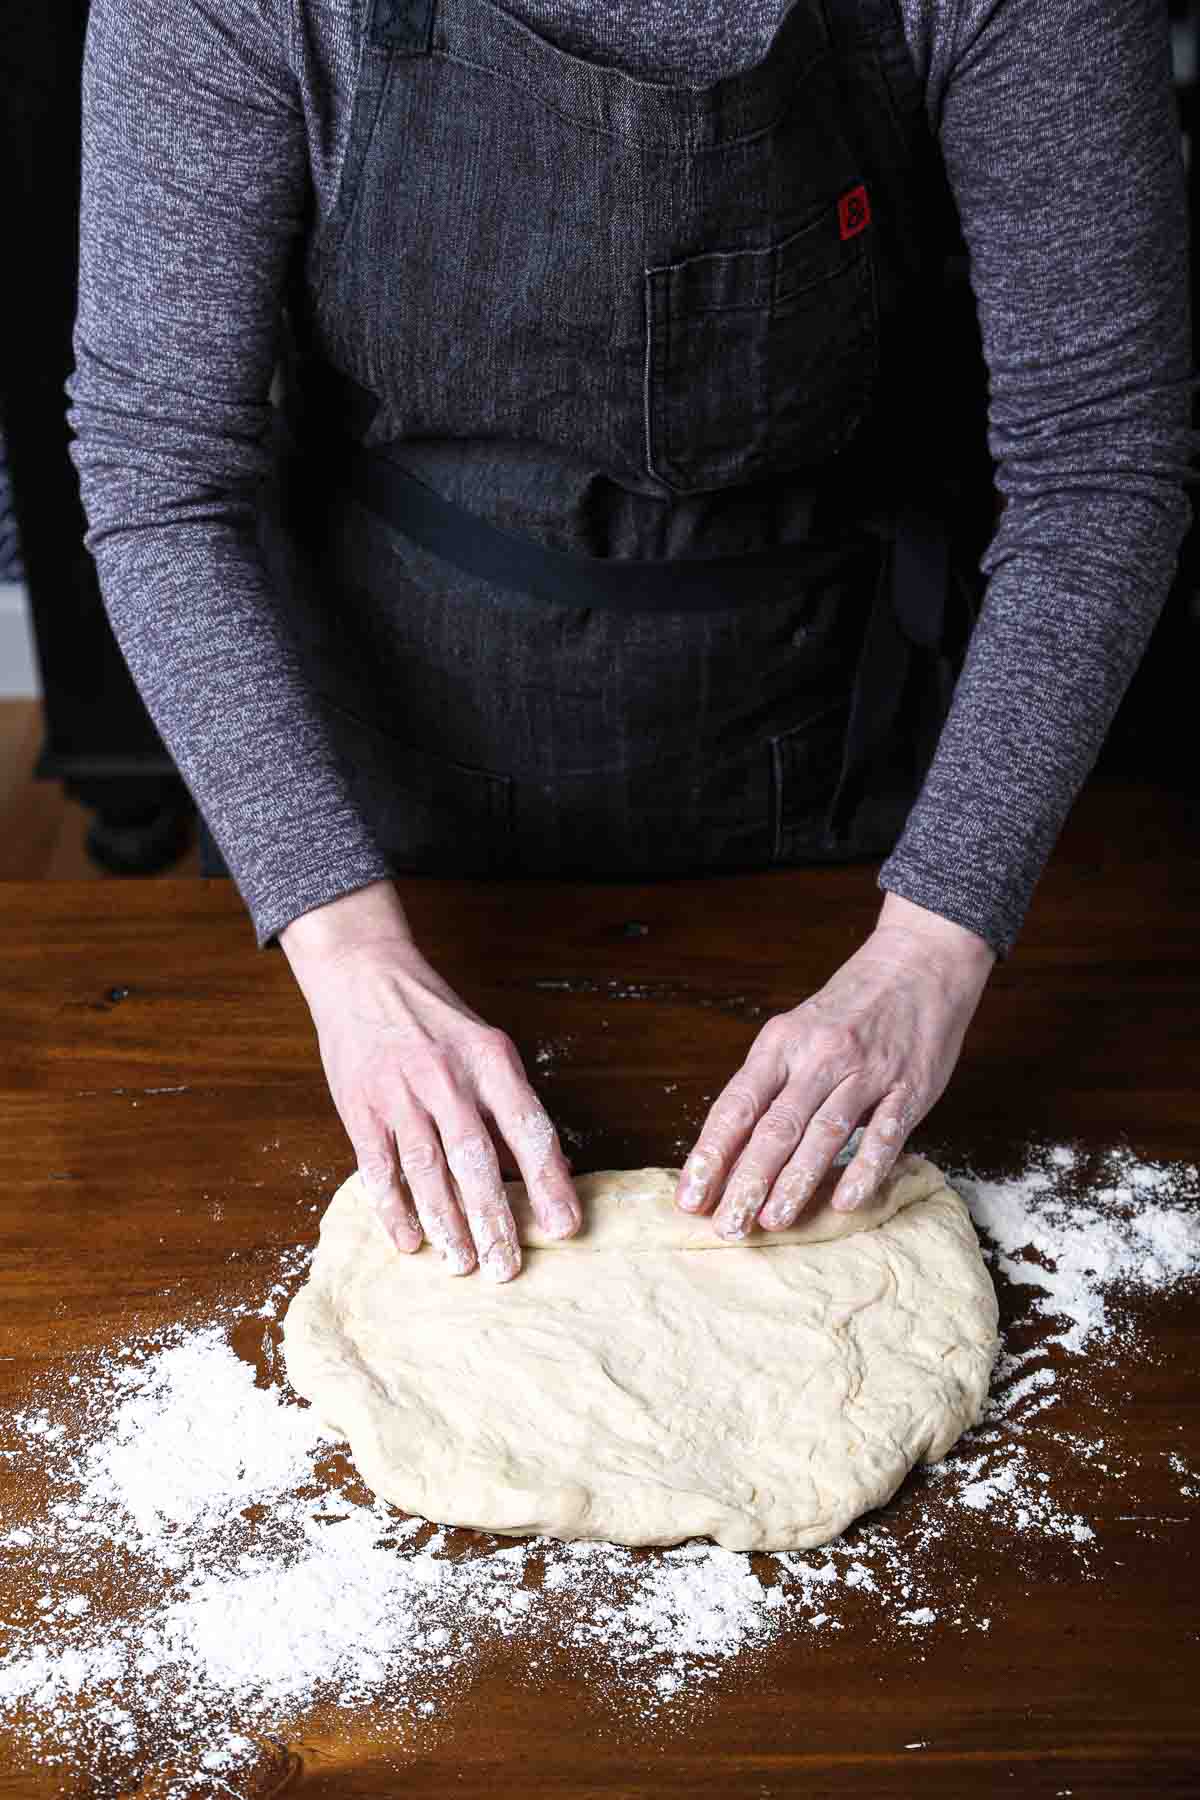
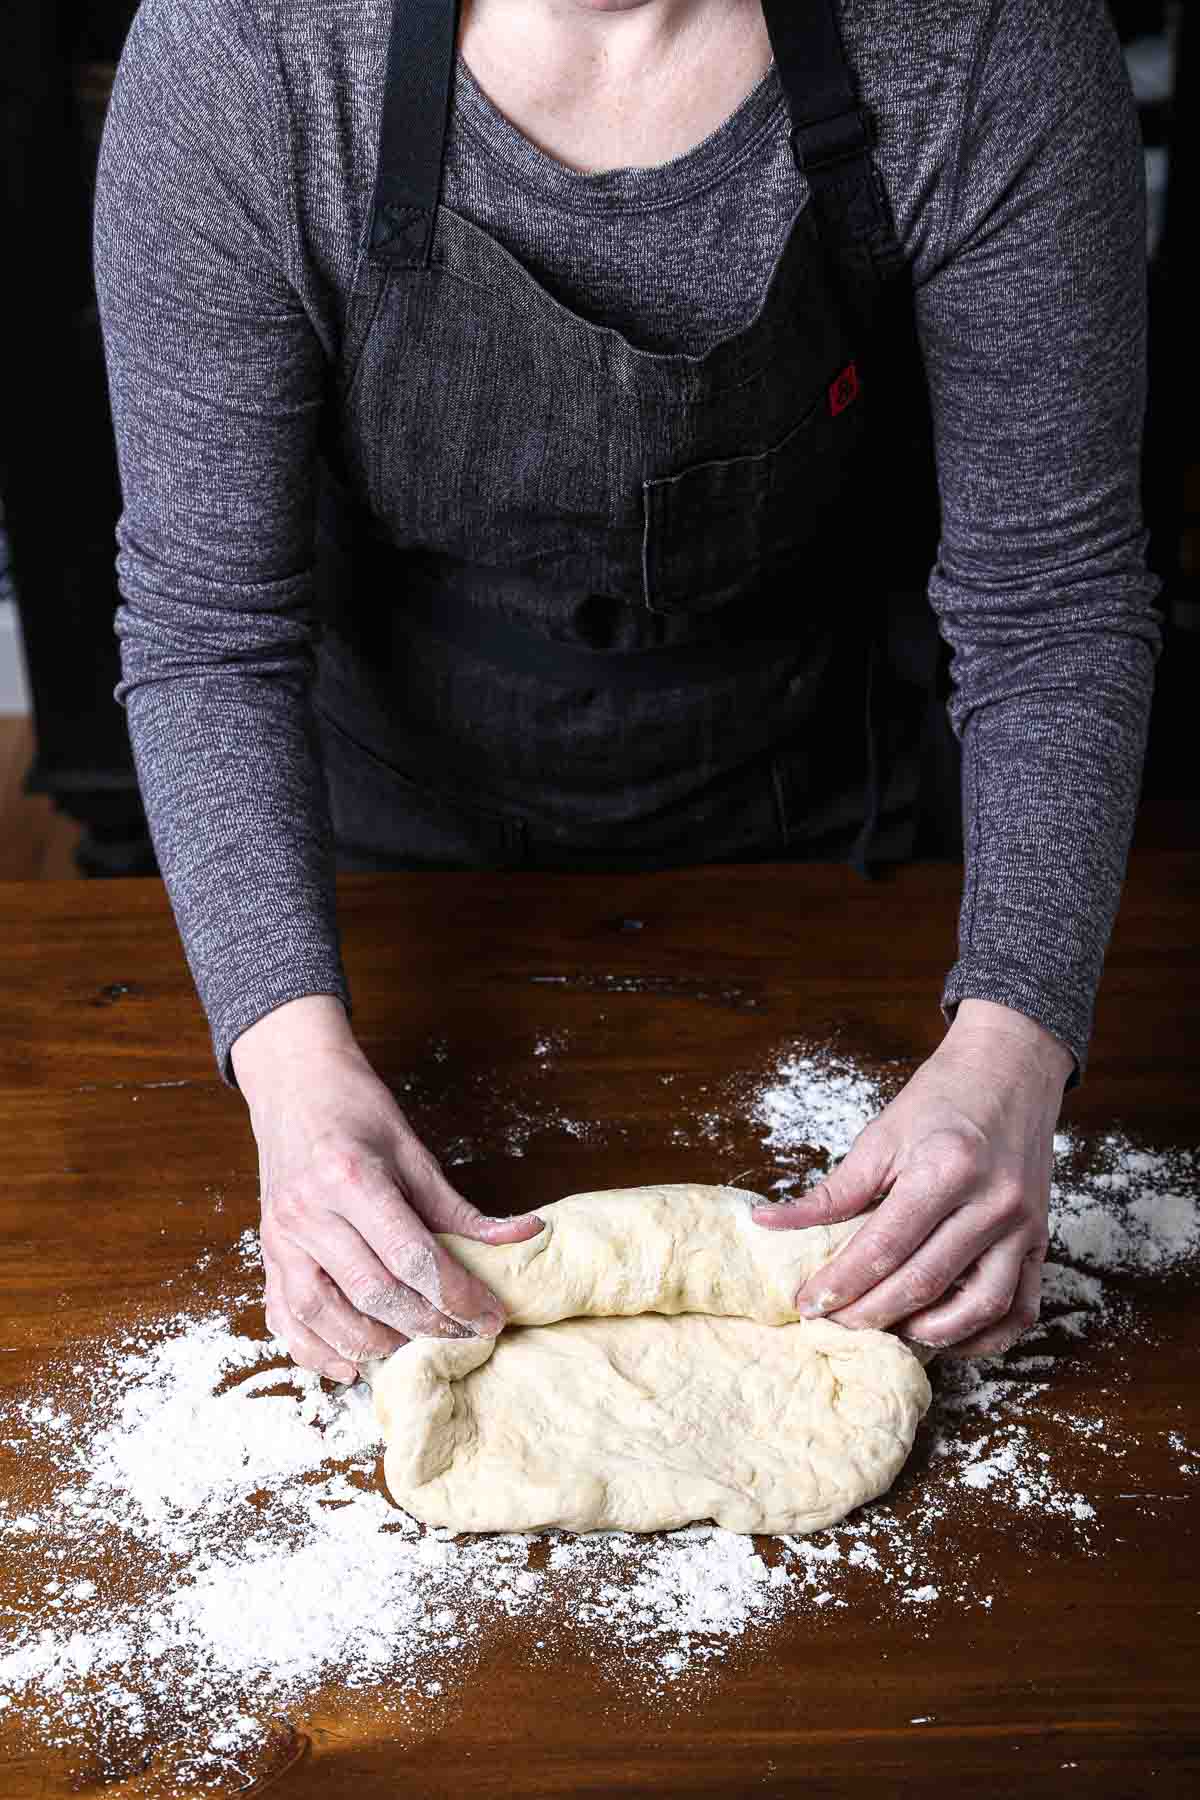
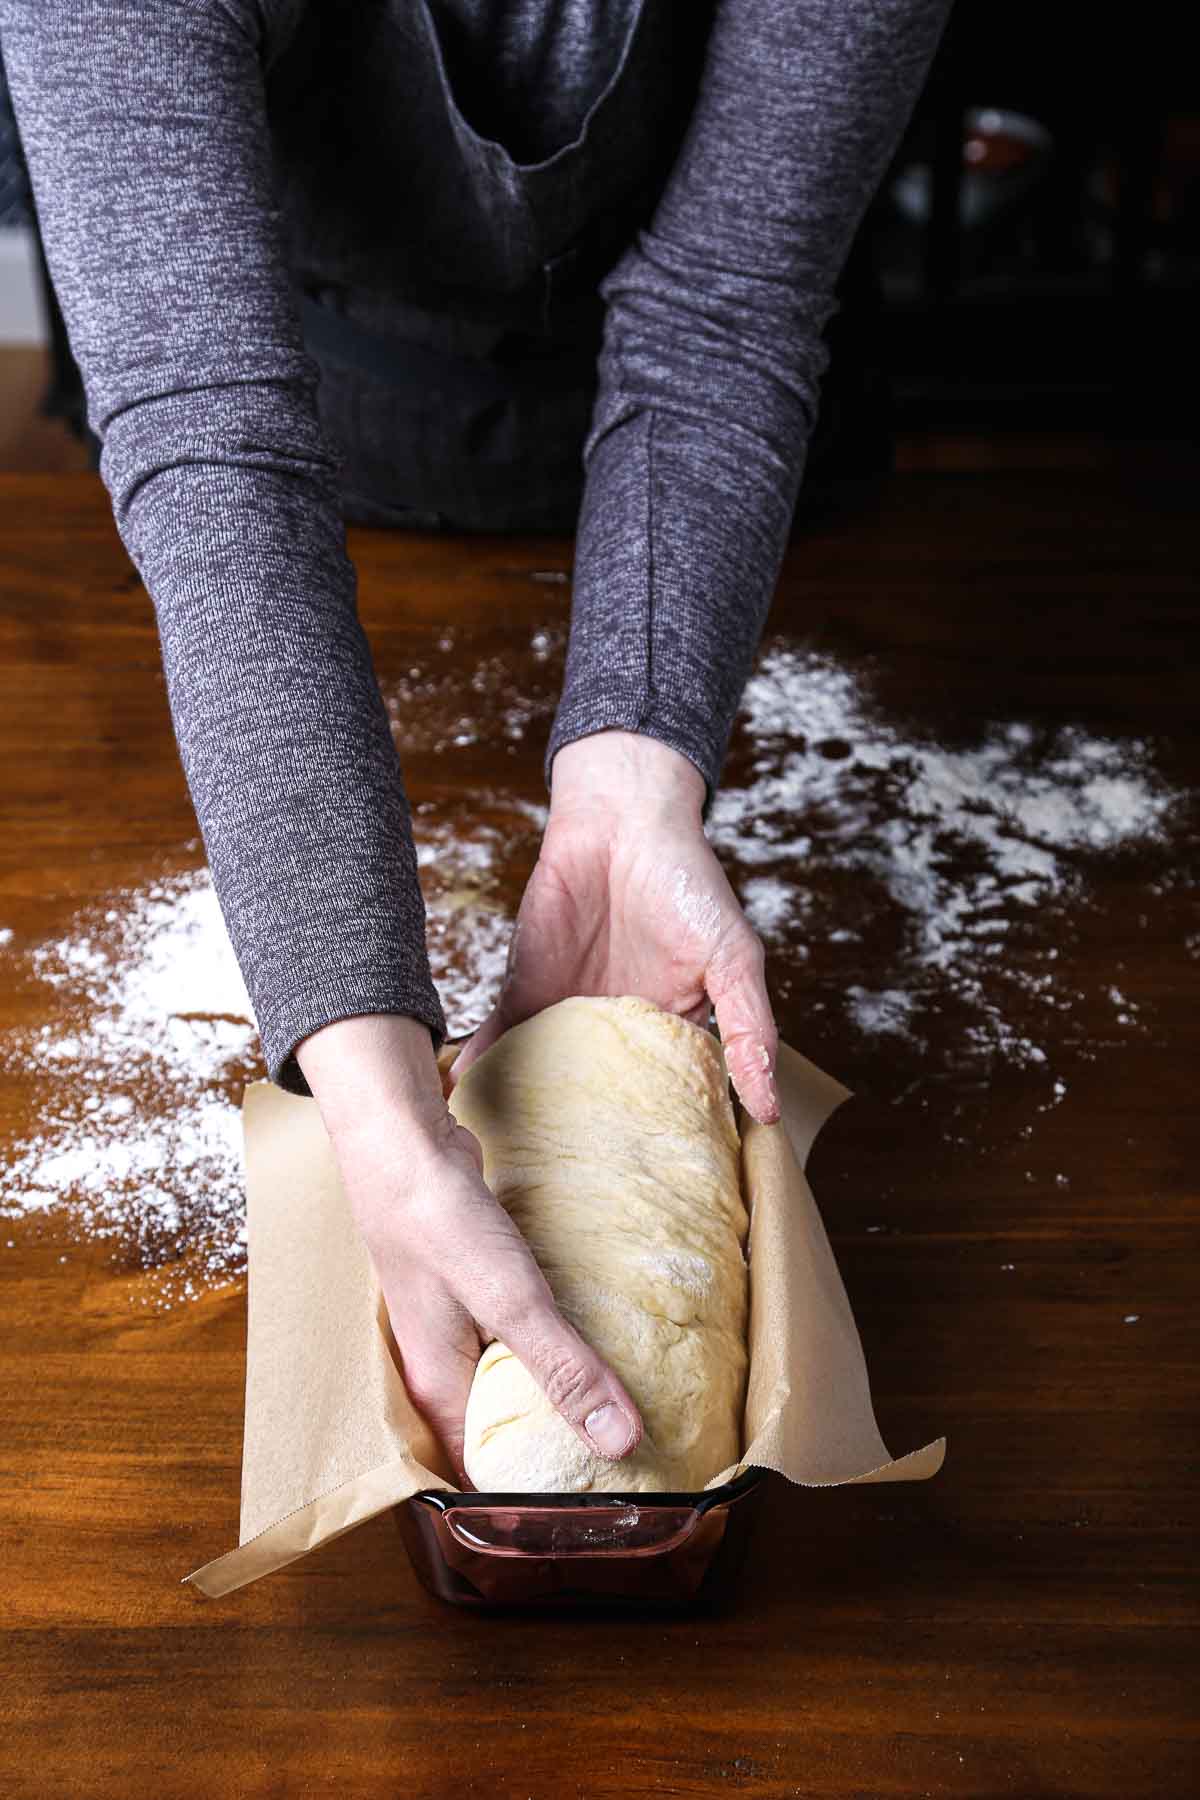
Step 7: Shape the loaf – Gently pat the dough into a rectangle, fold the bottom edge up by about a third, and roll it away from you into a firm cylinder. Tuck the ends for a smooth shape, then place it seam-side down in a parchment-lined loaf pan.
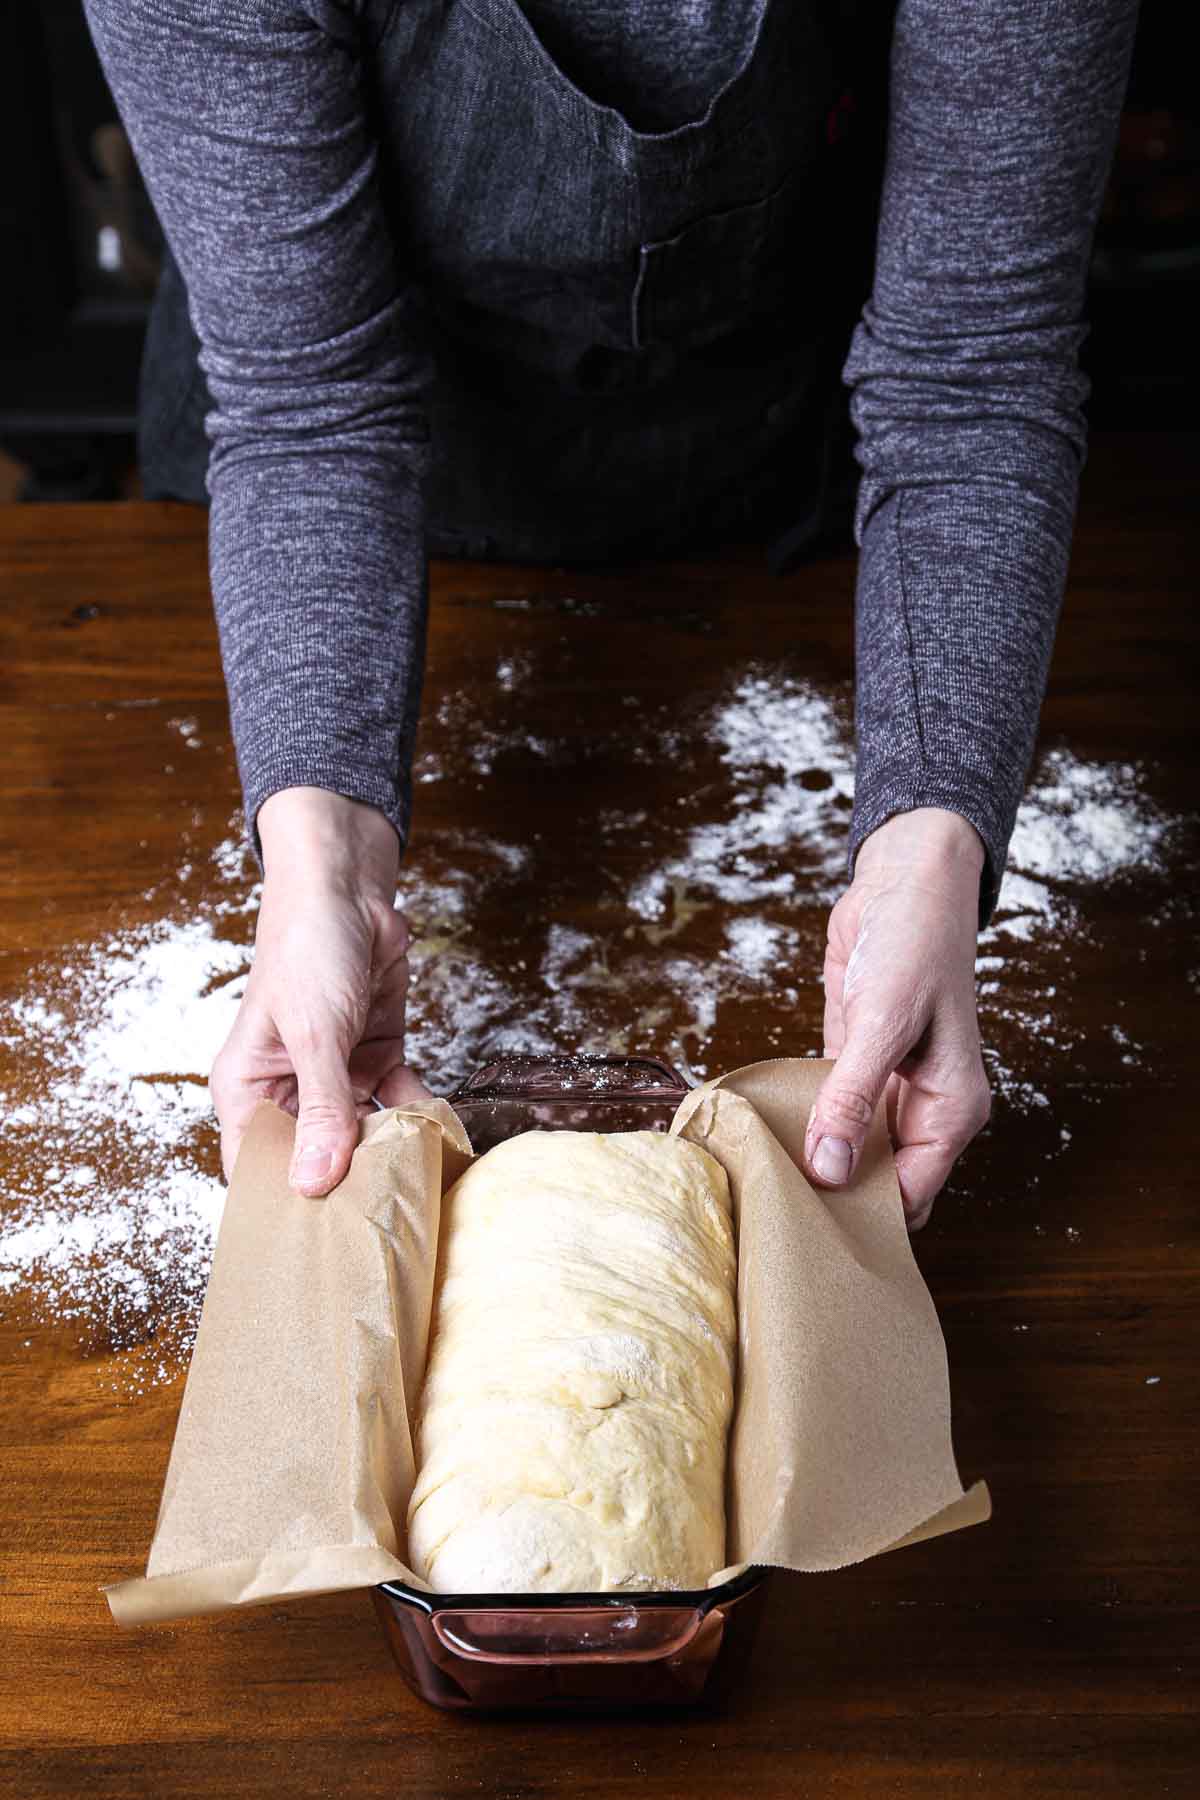
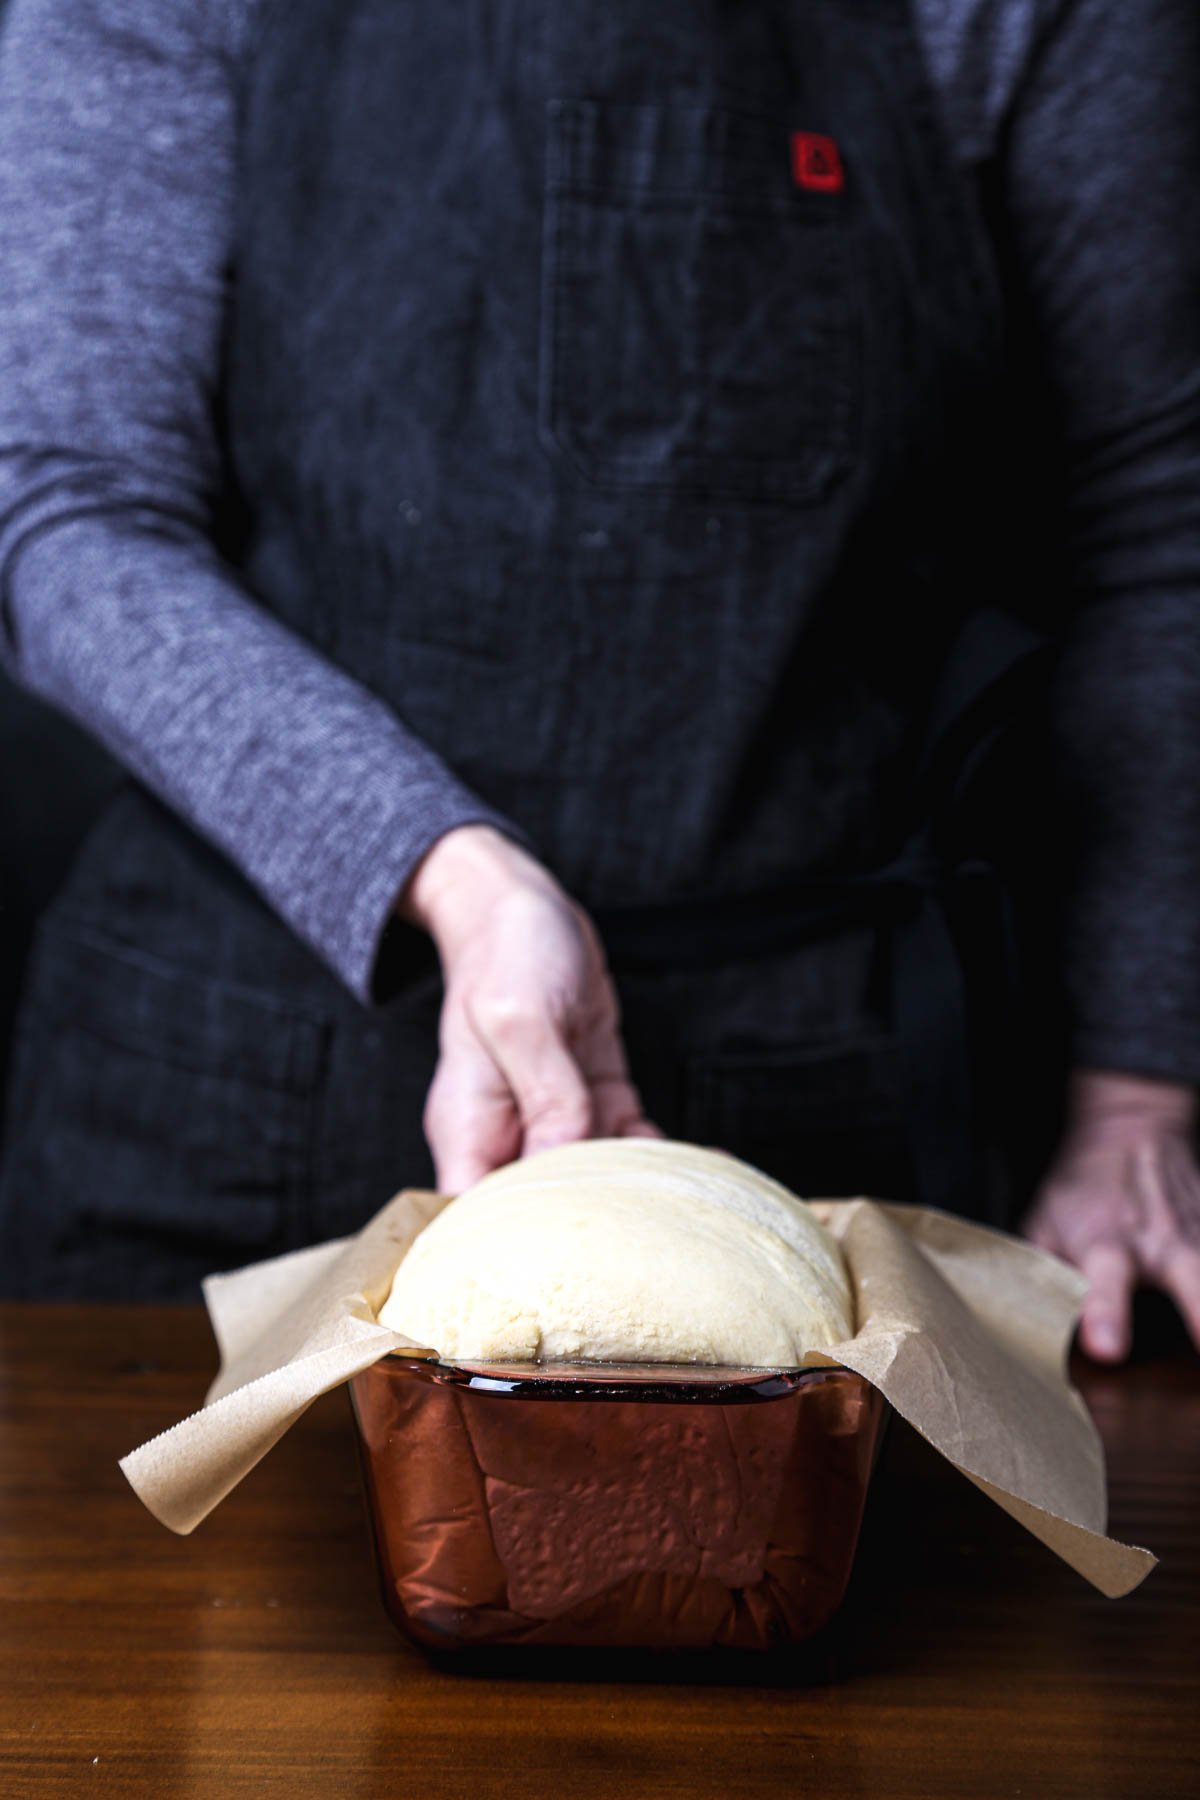
Step 8: Second rise – Cover the pan with a dry tea towel and let the dough rise again until it domes just over the rim. This usually takes about an hour. If you used the oven light for proofing earlier, make sure the loaf is out before preheating.
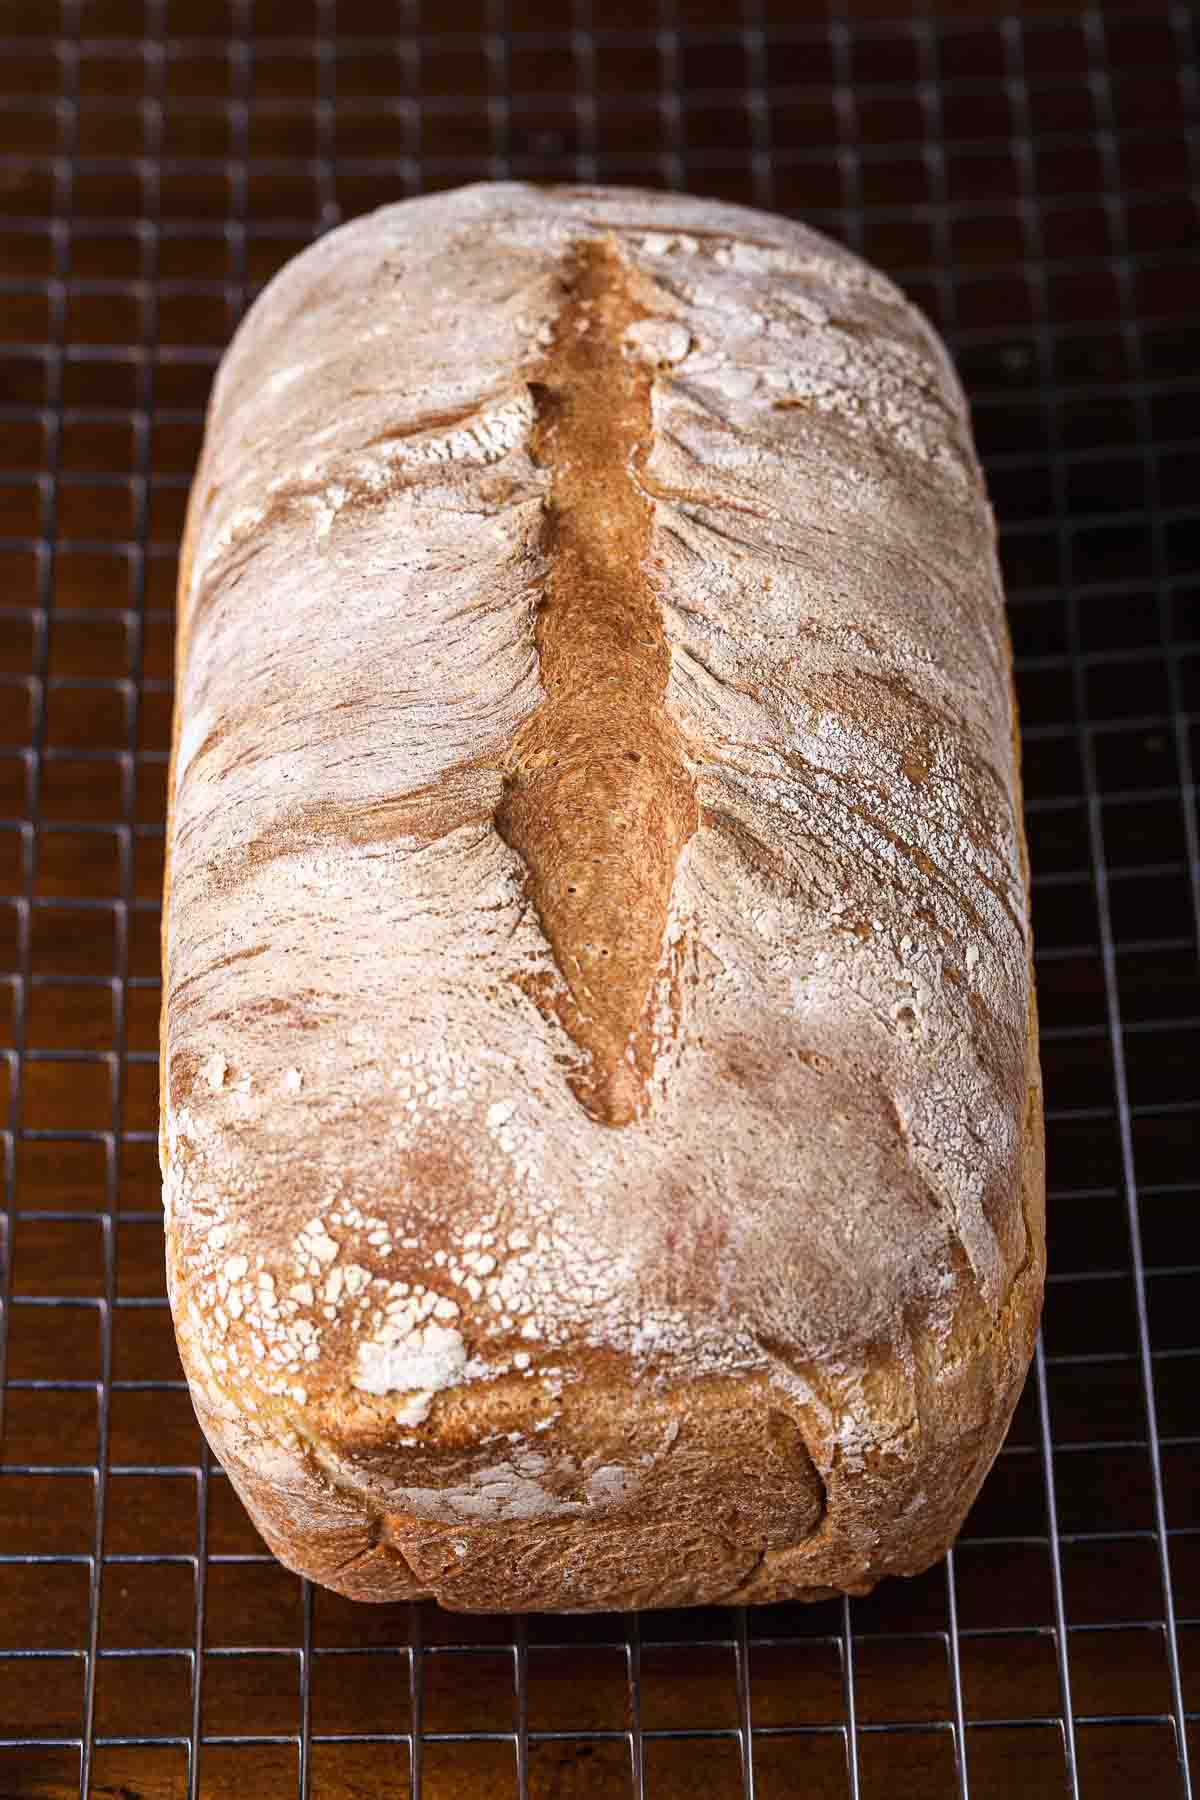
Step 9: Bake – Score a shallow line down the center, then bake at high heat to get the rise going before lowering the temperature to finish the bake. The loaf should come out golden, sound hollow when tapped, and smell incredible.

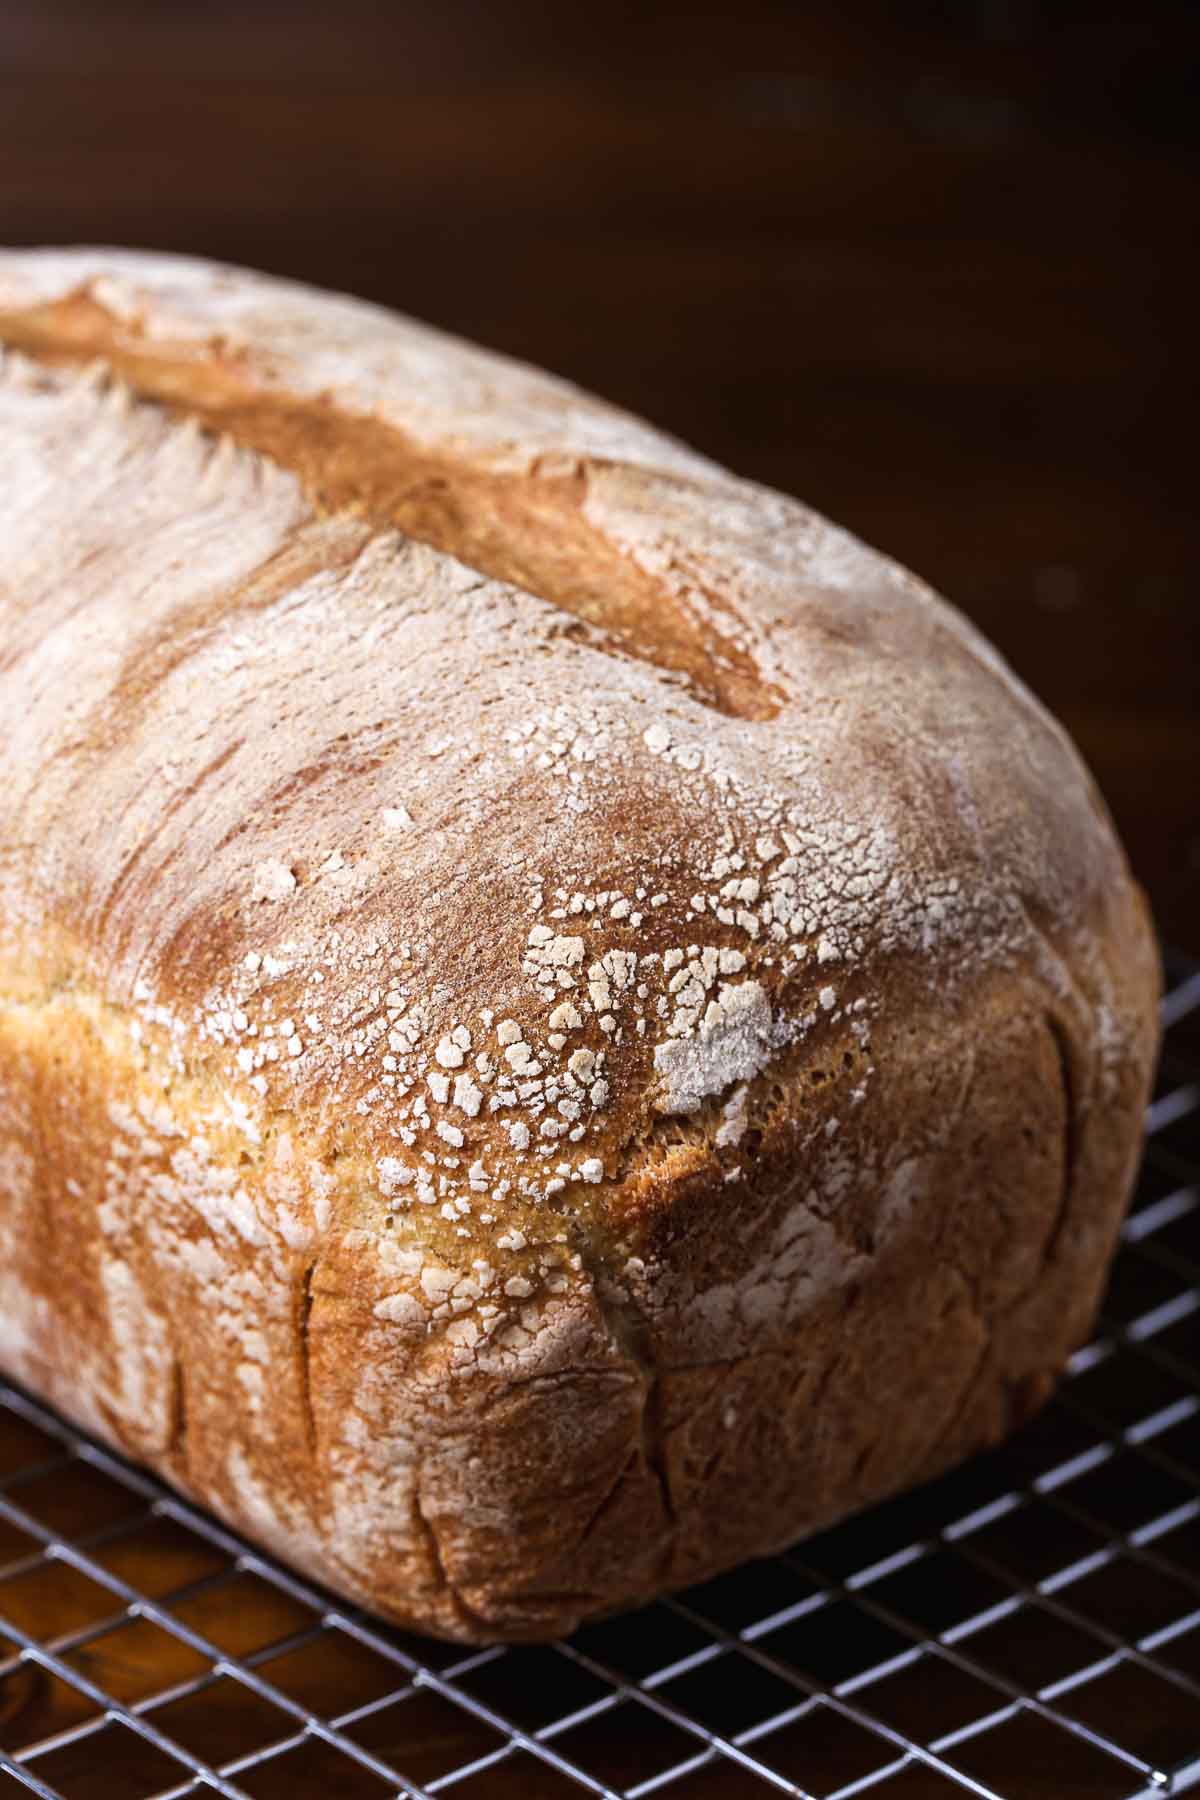
Step 10: Cool completely – Lift it out of the pan, remove the parchment, and cool on a rack for at least two hours. This sets the crumb so you get clean slices instead of a gummy texture.
How To Serve
This soft sandwich bread works with pretty much anything you want to stack, spread, or toast. It tastes best fresh: a few hours after it’s been cooled, slice and enjoy. After about a day, slice it up, place into the freezer in slices on a parchment or silpat-lined baking sheet, then transfer to a freezer-safe bag. From there, just pop into the toaster or completely defrost and place it into a greased hot skillet to revive. Whether you lean savory or sweet, this bread for sandwiches is ready for all of it. Here are some ideas:
Breakfast Ideas
- Avocado toast: Thick slices, toasted with lemon, chili crisp, or everything seasoning.
- JUST Egg & vegan cheese sandwich: Diner perfection with a homemade touch.
- French toast: Leave the slices out to dry and get slightly stale so they can soak up liquid and turn into flavorful, sturdy slices.
- Simply sweet: Add some soft vegan butter and jelly or jam, or a drizzle of agave or vegan honey. A sprinkle of salt makes everything pop.
Lunch & Dinner Ideas
- Vegan BLT: Add tempeh bacon, lettuce, tomato, and vegan mayo.
- Garlic confit toast: Smash the cloves, spoon over the oil, and finish with flaky salt.
- Classic sandwich bread sandwiches: Vegan tuna salad, vegan deli slices, or peanut butter and jelly.
- Toasted melty situations: Grilled cheese with your favorite meltable vegan cheese brands.
- Hearty toast toppers: White beans and rosemary, marinated tomatoes, smashed beans, or miso butter. This bread will complement everything beautifully.
- Soup dipper: Perfect with tomato or split pea soup.
- Garlic bread: Toast the slices, brush with vegan butter and garlic, and enjoy.
FAQs
Yes. Scoring creates a controlled “escape route” for steam, which helps the loaf rise evenly in the oven instead of bursting unpredictably along the sides. A shallow ¼-inch slash is all you need for a clean, even shape.
Dense bread usually means one of three things: the yeast wasn’t fully active, the dough didn’t rise long enough, or too much flour was added during mixing or kneading. Make sure your yeast blooms into a creamy, foamy mixture before moving on. Give each rise enough time to fully double, and dust your surface lightly during kneading so the dough stays soft and slightly tacky.
Look for volume and softness. After each rise, the dough should look visibly puffed and roughly doubled in size. When you gently press it with a fingertip, it should feel light, airy, and slightly springy—not dense. Rise times are a guide, but the dough’s appearance is the best indicator.
More Homemade Bread Recipes to Try
If you made this sandwich bread recipe, we’d love it if you left a star rating and your feedback. It helps others find our recipe and makes our day!
Get This Recipe In Your Inbox
Share your email, and we’ll deliver it straight to your inbox.
Plus, enjoy new content every week as a bonus!
Sandwich Bread Recipe
- Total Time: 3 hours 35 minutes
- Yield: 1 loaf
- Diet: Vegan
Description
This sandwich bread recipe is everything you want in a homemade loaf: soft, sturdy, easy to slice, and makes sandwiches taste better. The dough comes together easily while a little silken tofu gives the crumb its surprisingly tender feel. If you’ve been looking for an simple sandwich bread that tastes fresh and is fun to make, you’re in the right place.
Ingredients
- ¼ cup warm water
- 1 teaspoon sugar
- 1 packet active dry yeast (¼ oz)
- 16 ounces silken tofu
- 1 teaspoon apple cider vinegar
- 1 teaspoon fine sea salt
- 3 cups bread flour, plus up to ½ cup more only if needed
- 1 tablespoon olive oil (for the bowl)
Instructions
Create a warm proofing environment.
Turn your oven light on for 45–60 minutes to gently warm the oven, and keep the light on during the first and second rise. This gives the dough a steady, draft-free environment around 80–85°F, which helps sandwich bread rise evenly.
Bloom the yeast.
In a small bowl, whisk together the warm water, sugar, and yeast. Let sit for 15 minutes, until the surface is very foamy.
Blend the tofu base.
In a blender, combine the silken tofu, apple cider vinegar, and salt. Blend until completely smooth.
Mix and hydrate the dough.
- Pour the tofu mixture into a large mixing bowl and add the bloomed yeast. Stir gently to combine.
- Add 1 cup flour, mix with a sturdy spatula, then add the second 1 cup and mix again.
- Add in the remaining flour gradually (up to 1 ½ cups), stirring until the dough is shaggy and pulls from the edges of the bowl.
- Cover the bowl with a damp towel and let the dough rest for 10–15 minutes to fully hydrate.
Knead the dough.
- Turn the dough onto a lightly floured surface. Knead for 5–7 minutes, dusting the surface only as needed.
- The dough should become smooth, elastic, slightly tacky, and able to hold a tight ball shape. If it feels sticky, add a little flour to the table so it feels workable.
First rise.
- Drizzle 1 tablespoon olive oil into a large glass bowl. Add the dough and turn it once to lightly coat all sides in oil.
- Cover with a damp towel and let rise in a warm spot for 1 ½ hours, or until doubled and visibly puffy.
Shape the loaf.
- Line a 9×5-inch loaf pan with parchment paper.
- Turn the dough onto a lightly floured surface and gently pat it into a rectangle slightly wider than your loaf pan.
- Fold the bottom long edge (the long side closest to you) up toward the center by about one-third.
- Roll the dough away from you into an even cylinder, keeping the roll firm to create surface tension. Tuck the edges in slightly as you roll to maintain an even shape.
- Pinch the final seam closed, then place the loaf seam-side down into the parchment-lined pan.
Second rise.
- Cover with a clean, dry tea towel and let rise for 1 hour, or until the top domes just above the pan’s rim.
- If you proofed in the oven earlier, remove the pan before preheating.
Bake.
- Preheat the oven to 425°F.
- Score a shallow ¼-inch line straight down the center.
- Bake for 15 minutes, then reduce the heat to 400°F (without opening the door) and bake for 30 minutes more, until the crust is golden.
Cool completely.
- Lift the bread out of the pan immediately after baking to keep the crust from softening.
- Remove the parchment and cool on a wire rack for at least 2 hours before slicing.
Notes
- Cooling matters. Let the loaf cool for at least 2 hours before slicing. This gives the crumb time to set so your slices come out soft but structured instead of gummy.
- Best served fresh. This soft sandwich bread is at its peak the same day it’s baked. Slice and enjoy once cooled, or toast slices the next morning to bring the crust back to life. By day two, this loaf begins to stale naturally because it has zero preservatives—normal for homemade bread.
- Short-term storage. Once fully cooled, store the loaf in a loose zip-top bag at room temperature for 1 day. Don’t seal it completely—trapping too much moisture softens the crust and can make the crumb feel damp.
- Do not refrigerate. Refrigeration dries out starches quickly, making bread stale.
- How to freeze. Slice the cooled loaf and place slices on a parchment- or Silpat-lined baking sheet, which keeps the slices from sticking together. Freeze until solid, then transfer to a freezer-safe bag for up to 2 months.
- Reheating from frozen. Toast slices straight from the freezer or warm them in a lightly greased skillet to bring back the soft center and crisp edges.
- Scaling note. This recipe makes one standard 9×5 loaf. For best structure and rise, make one batch at a time rather than doubling in a single bowl.
- Proofing reminder. If you’re using the oven-light method, warm the oven before mixing your dough and leave the light on for both rises for consistent proofing.
- Prep Time: 20 minutes
- Proofing Time: 2 hours, 30 minutes
- Cook Time: 45 minutes
- Category: Side, Snack, Lunch, Dinner, Breakfast
- Method: Baked
- Cuisine: American